Uploading Files in Storage Card
In Storage Card, users can upload files to authorized folders via the ‘Upload file’ button or the ‘Drag-and-Drop’ feature.
Authorized Folders
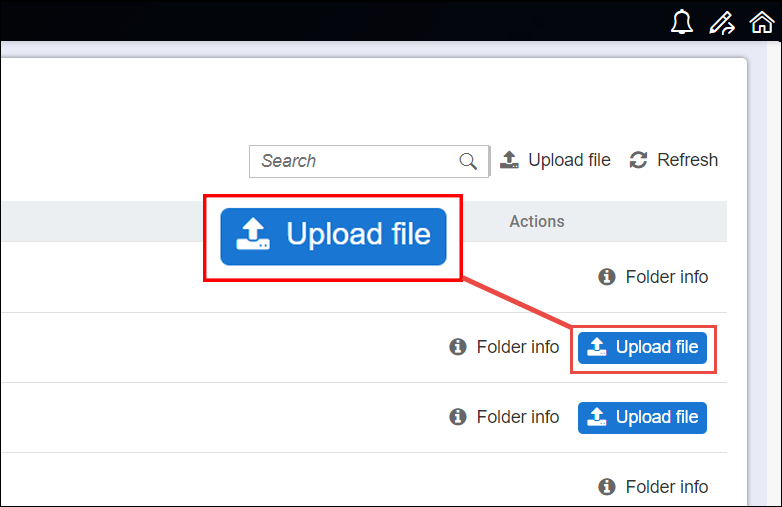
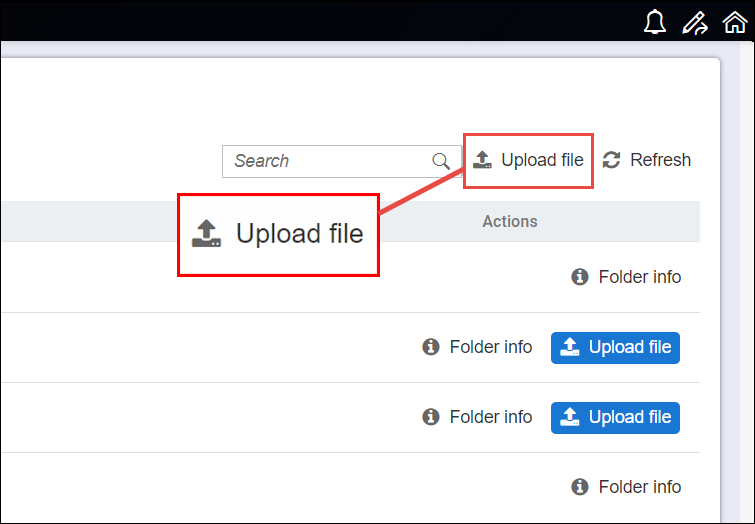
When uploading files, an ‘Upload file’ button will be shown under the actions column of authorized folders. Alternatively, an ‘Upload file’ button may also be accessed beside the search bar once a user navigates to a specific authorized folder.
‘Upload file’ under Actions column
‘Upload file’ button beside the search bar
Uploading Files via 'Upload File' Button
Follow these steps when uploading files in Storage Card using the ‘Upload file’ button:
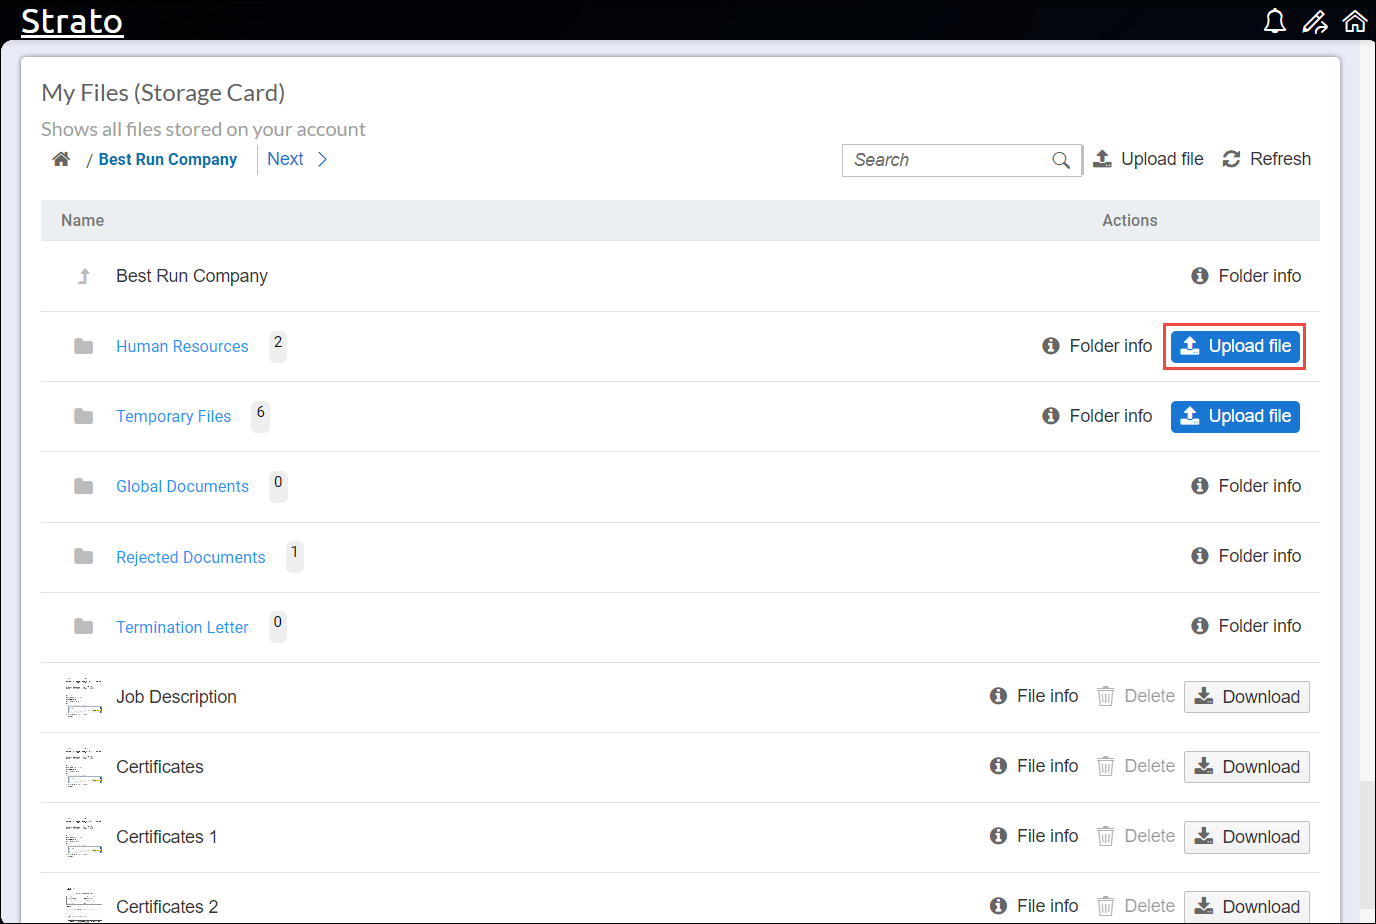
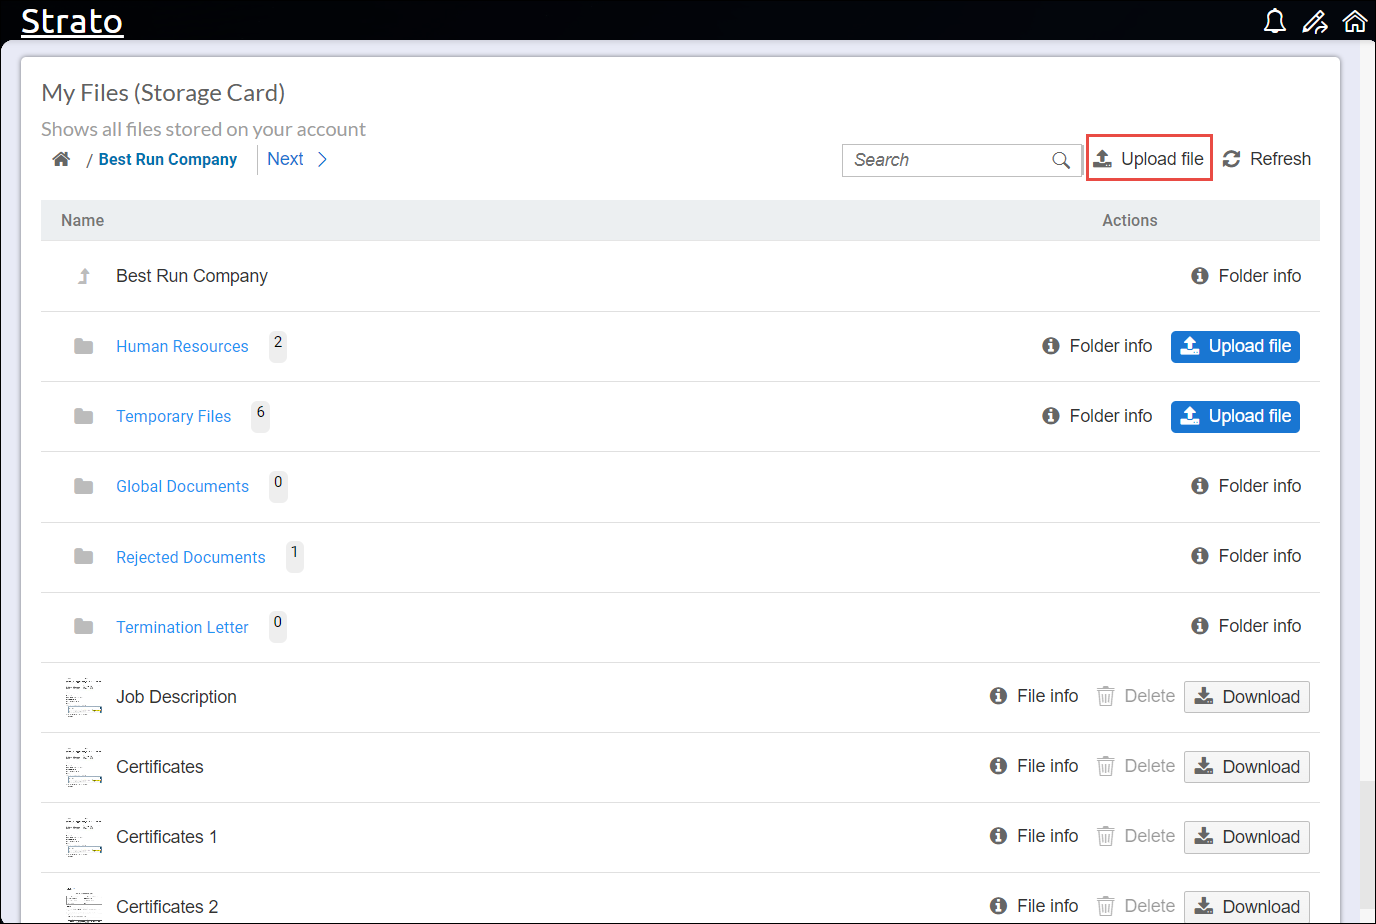
1. Click the ‘Upload file’ button on the folder where you want to upload your file(s).
‘Upload file’ under Actions column
‘Upload file’ button beside the search bar
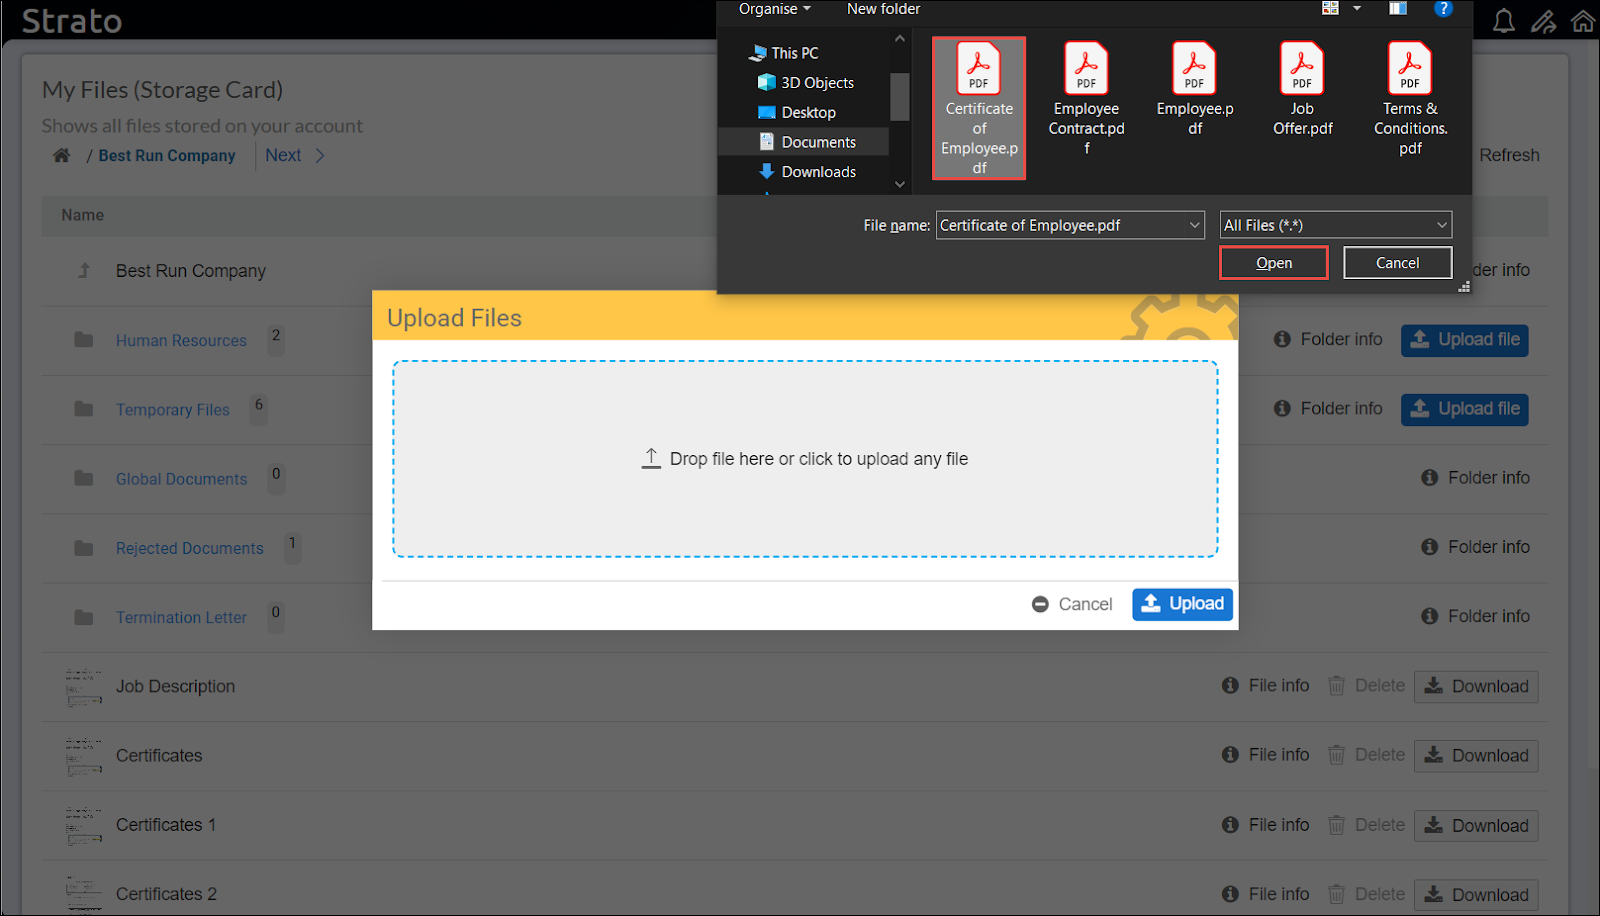
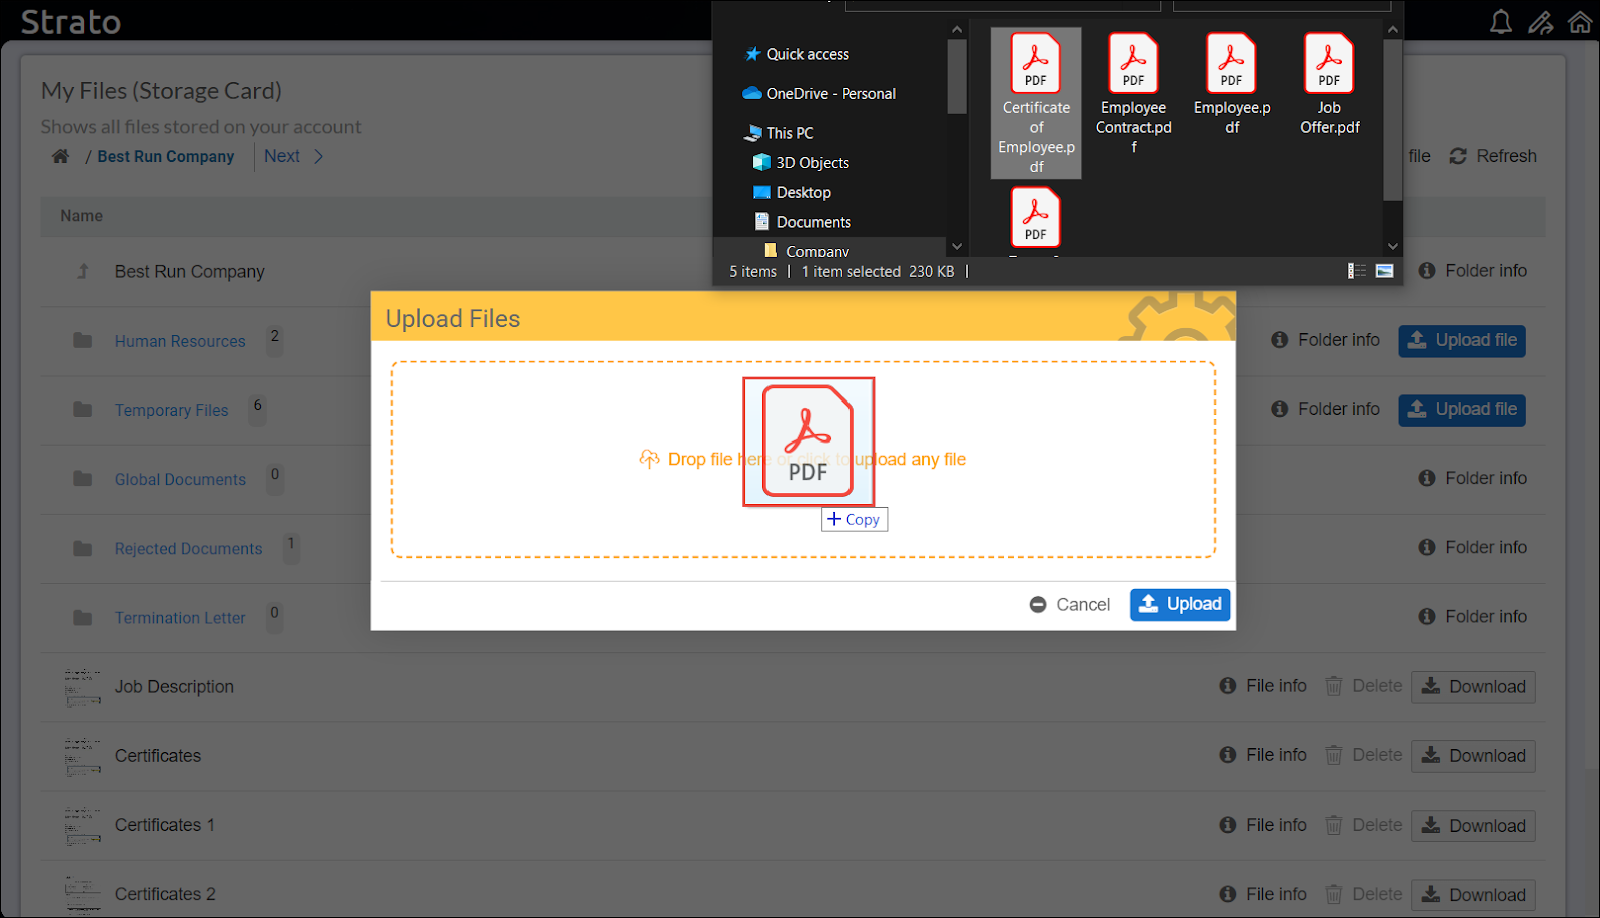
2. A pop-up screen will appear asking you to either select file(s) from your local drive or drop the file(s) on the screen.
Uploading Files by ‘Selecting’ File from Local Drive
Uploading Files by ‘Dropping’ File from Local Drive
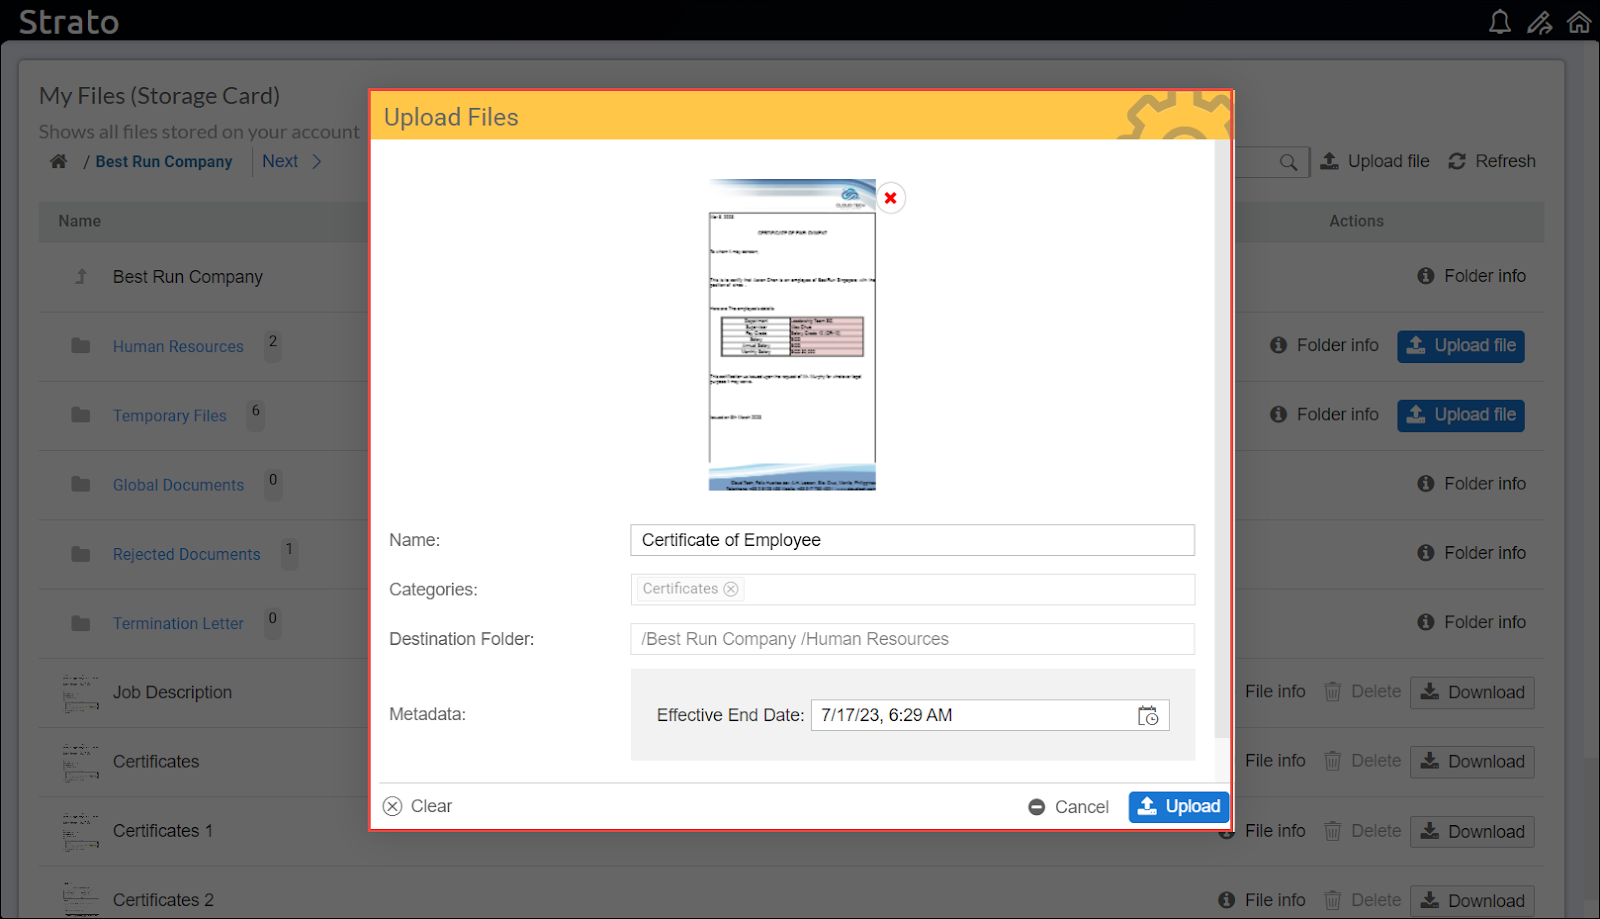
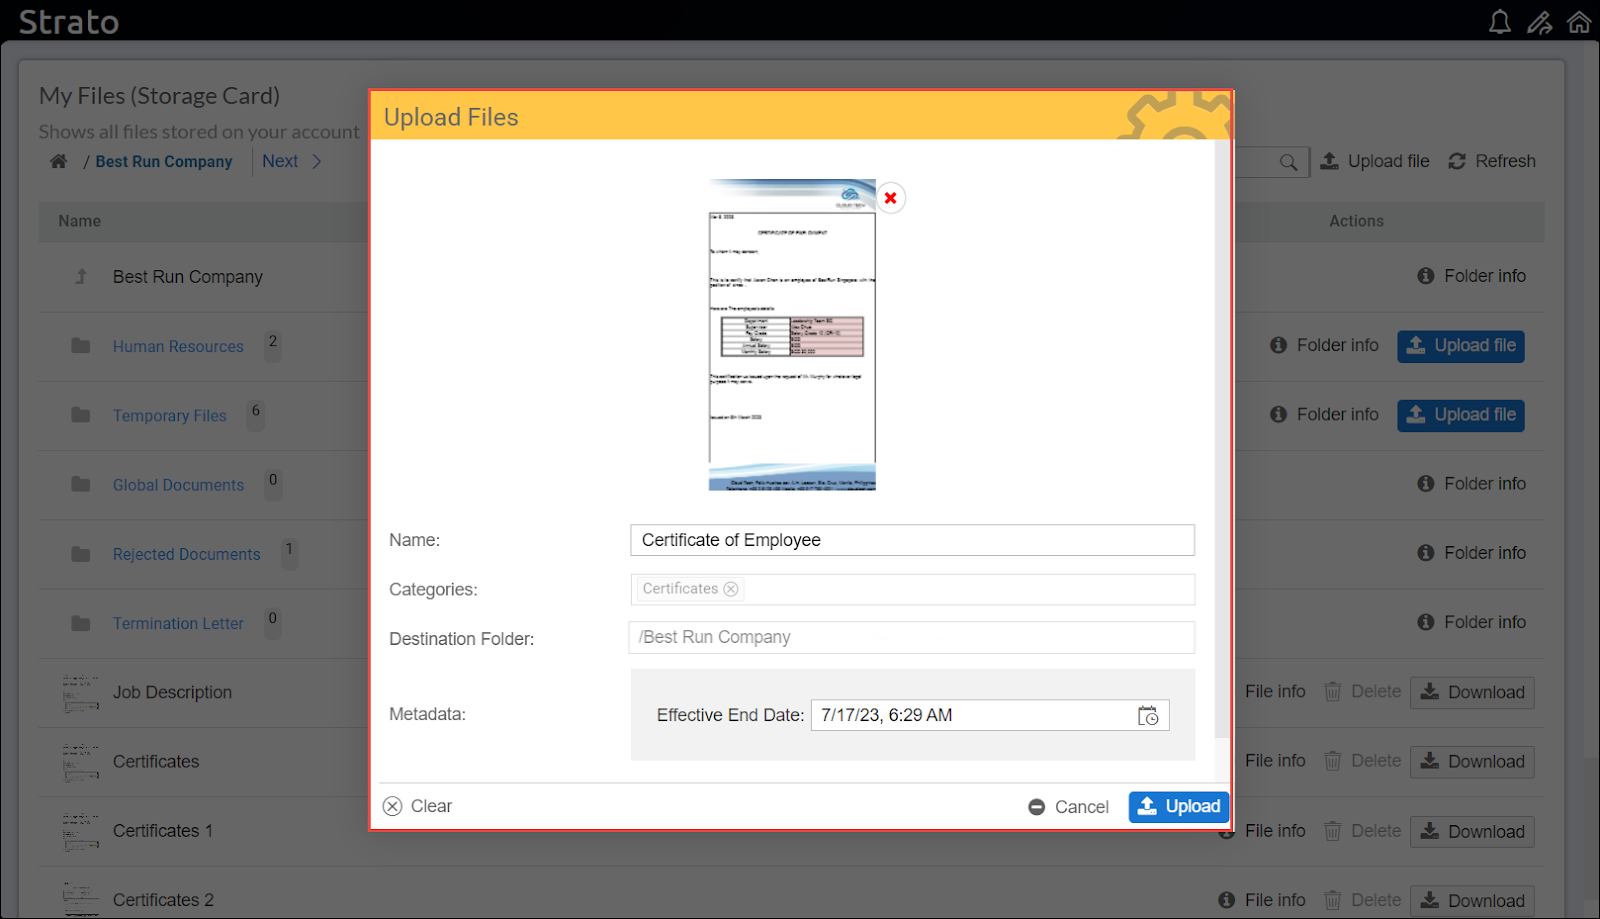
3. To proceed with uploading your file(s), you will need to configure file-specific settings from the pop-up screen. Once configured, click ‘Upload’.
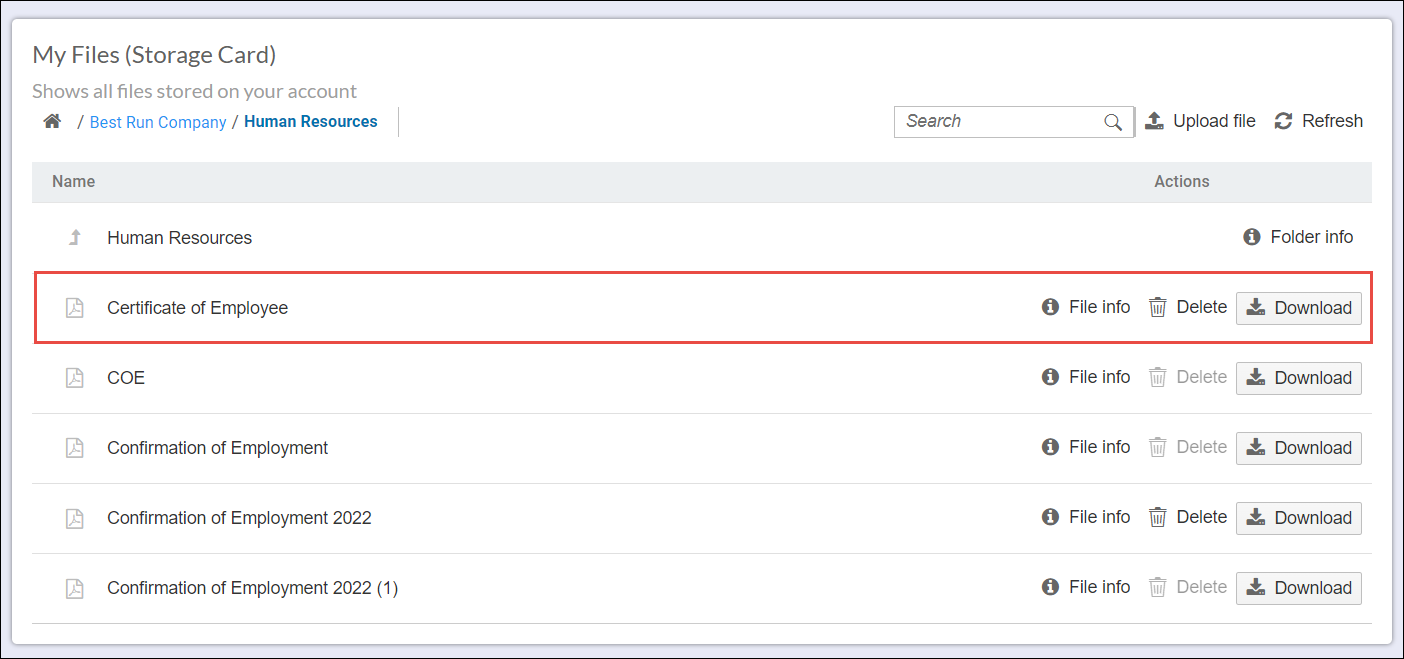
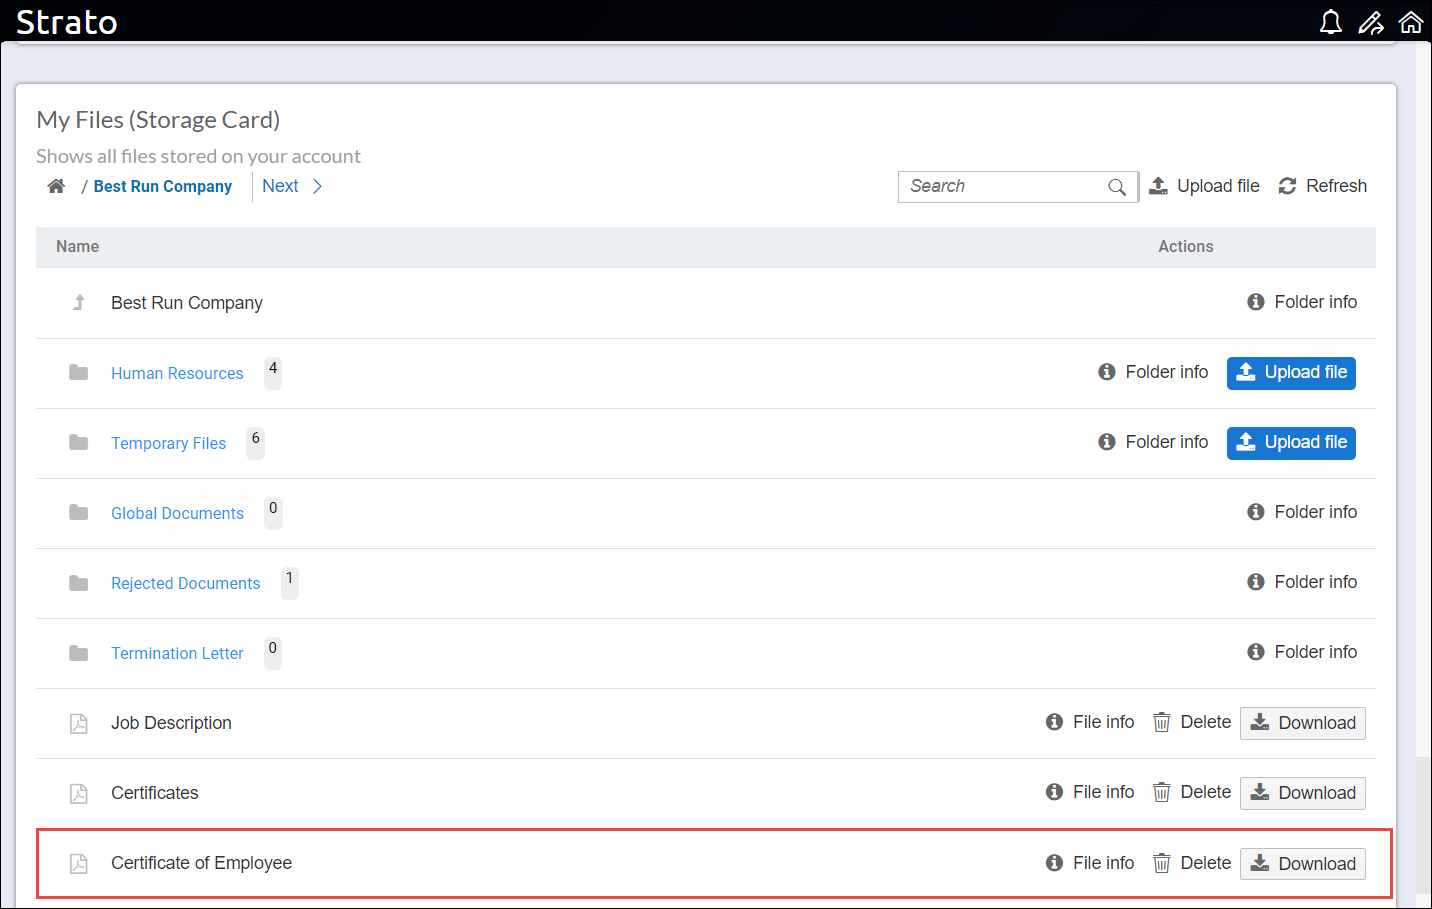
The file(s) will be successfully uploaded in the specific folder.
Uploading Files via Drag-and-Drop feature
Uploading Files from Root Folder
Follow these steps when uploading files from Root Folder using the ‘Drag-and-Drop’ feature:
1. Hold the selected file(s) from your local drive and drag the file(s) up to the Storage Card. A blue dotted line will appear around the area where you can drop your file.
Uploading File from Root Folder via the ‘Drag-and-Drop’ feature
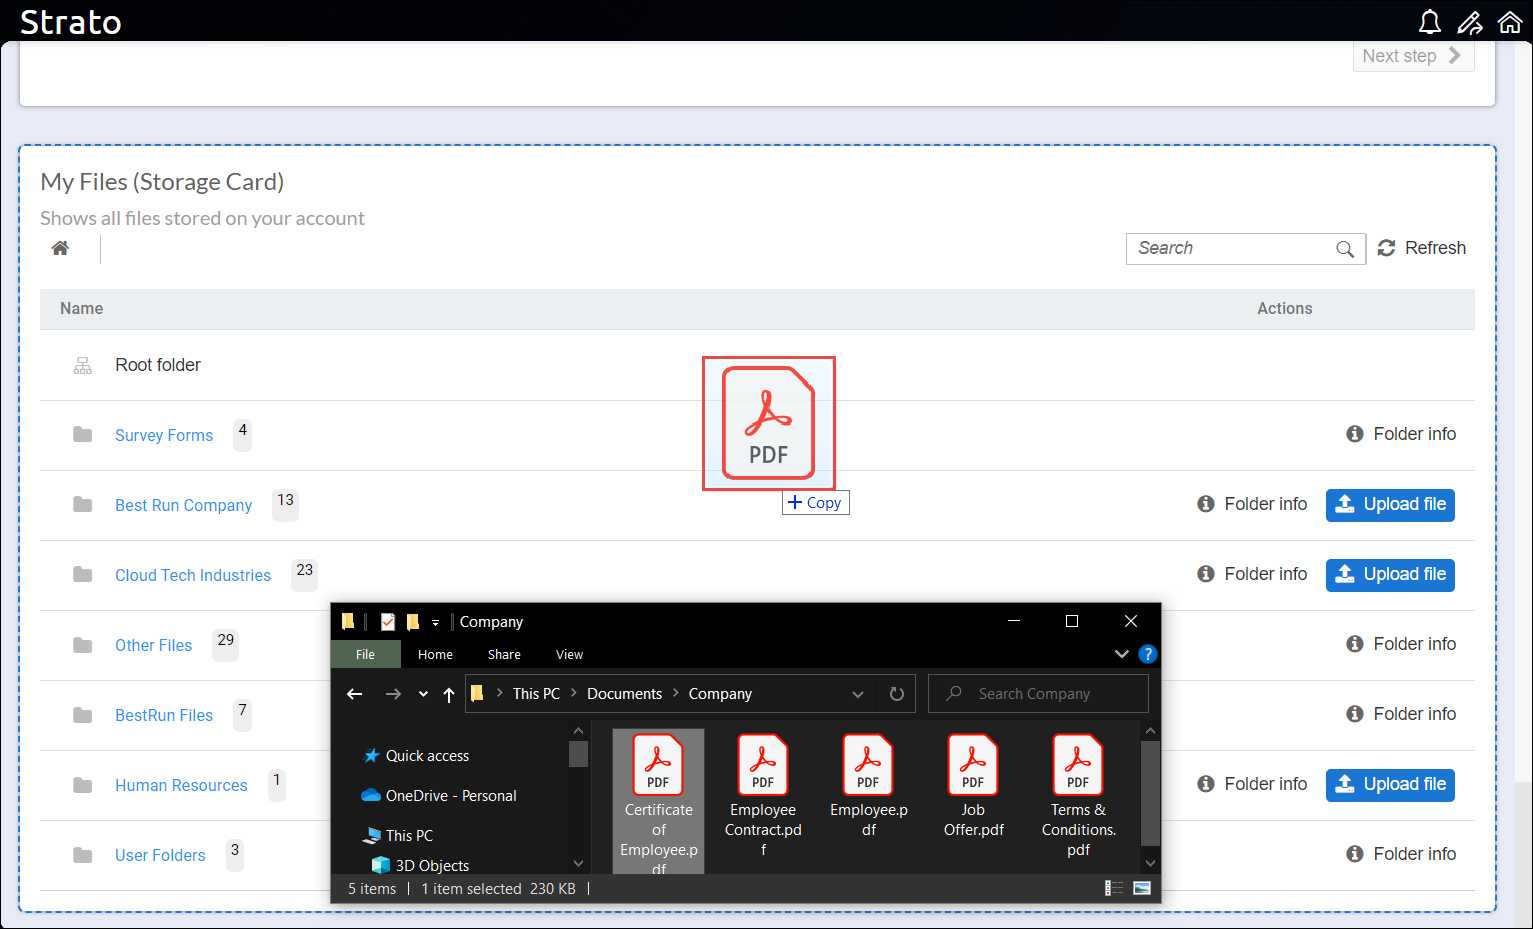
2. Select a destination folder for your file from the pop-up screen. You can use the search bar to locate specific folders. To navigate to the subfolders, click the arrow button located at the right end of the folder.
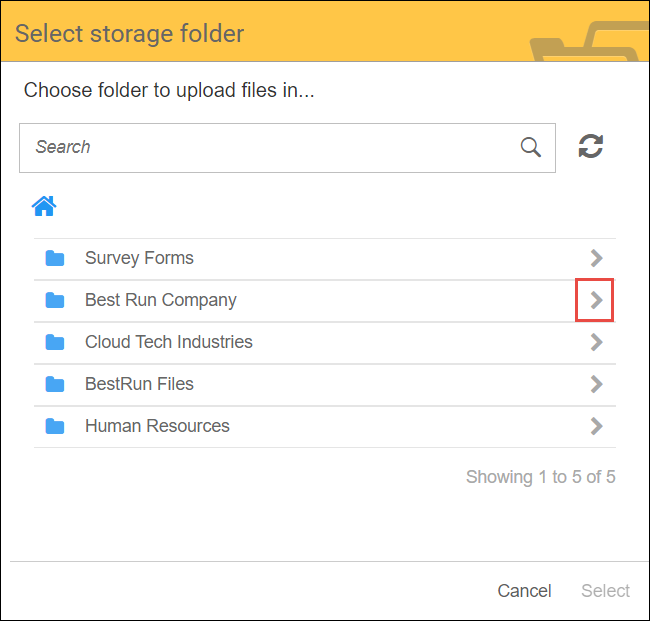
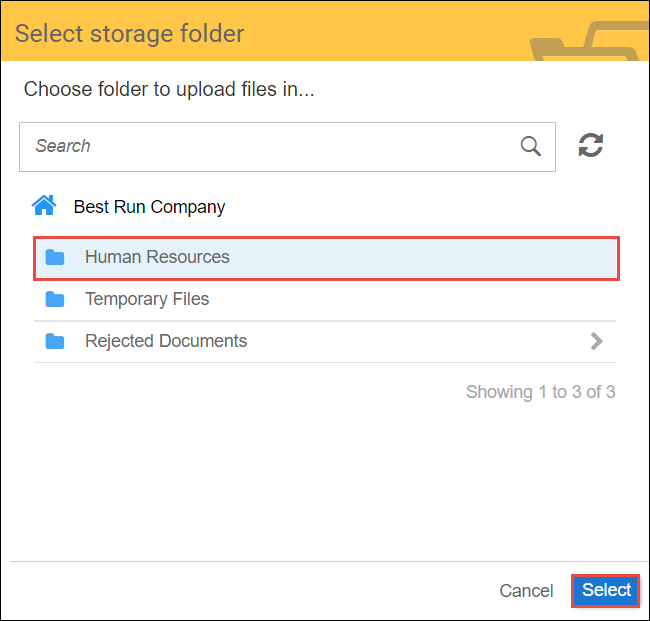
3. Once you have selected the destination folder, click ‘Select’.
4. To proceed with uploading your file(s), you will need to configure file-specific settings from the pop-up screen. Once configured, click ‘Upload’.
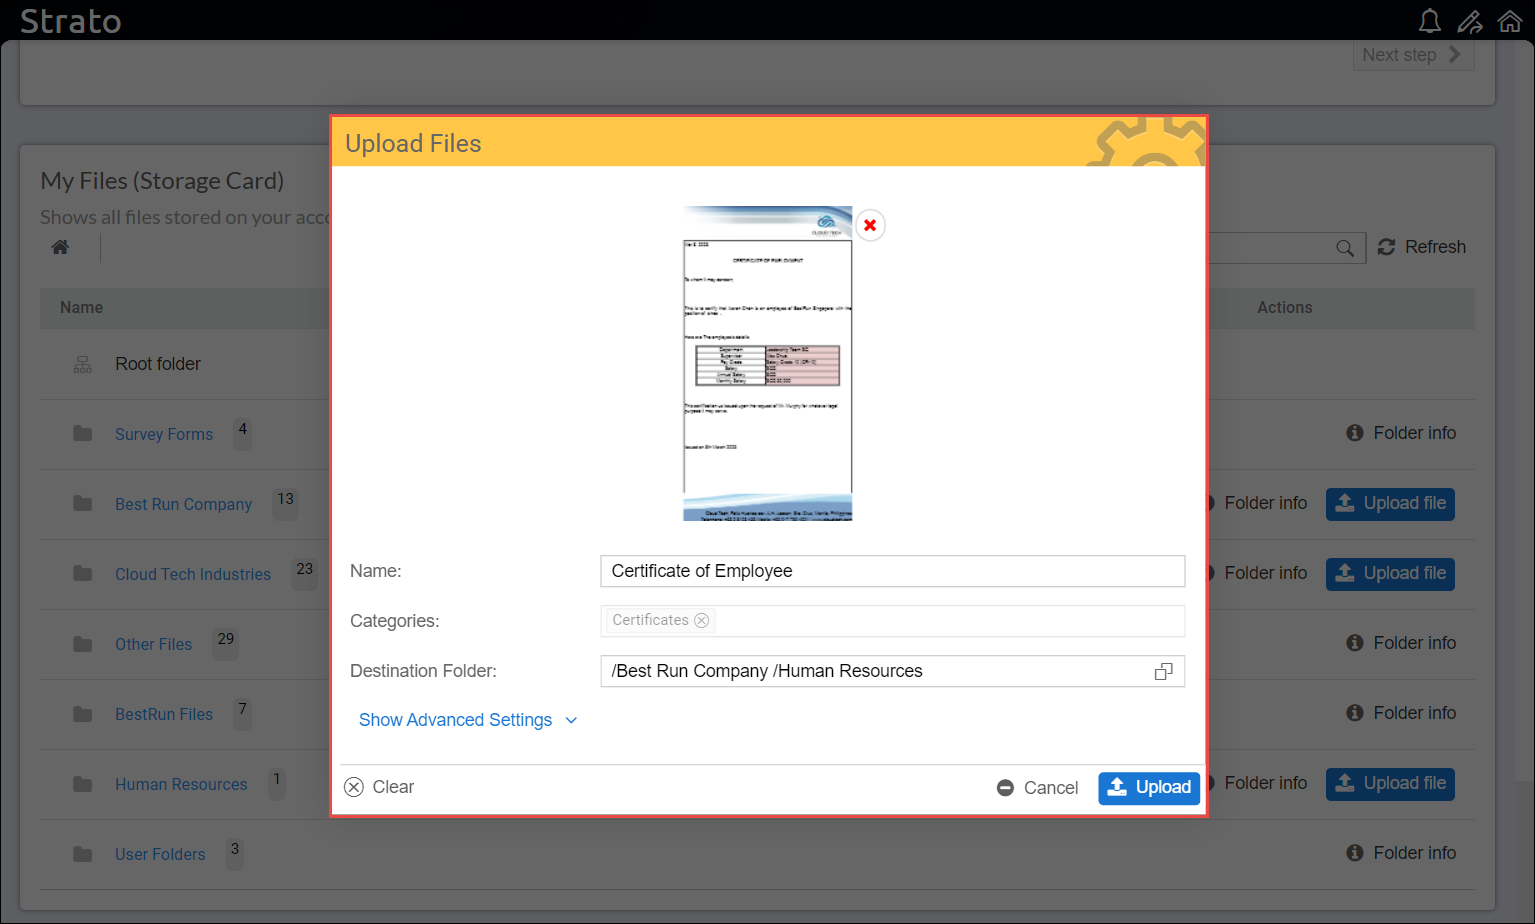
The file(s) will be successfully uploaded in the specific folder.
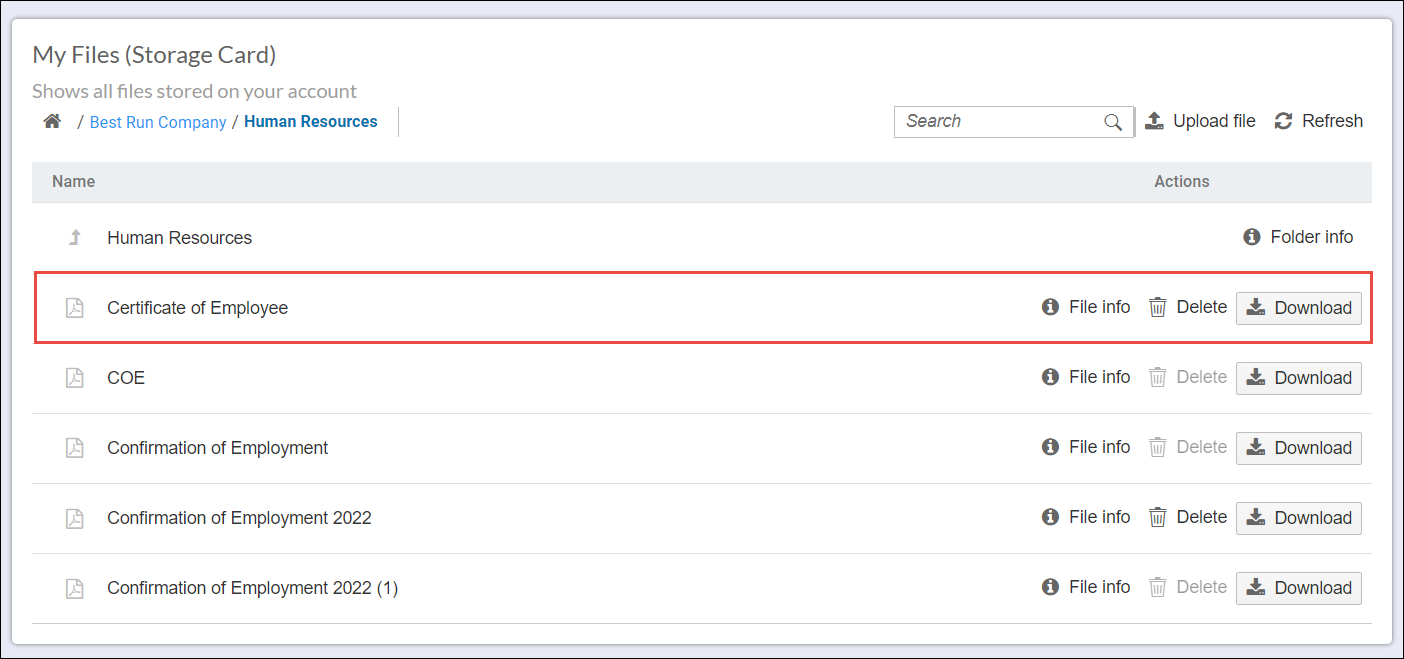
Uploading Files to a Specific Folder
Follow these steps when uploading files to an authorized specific folder:
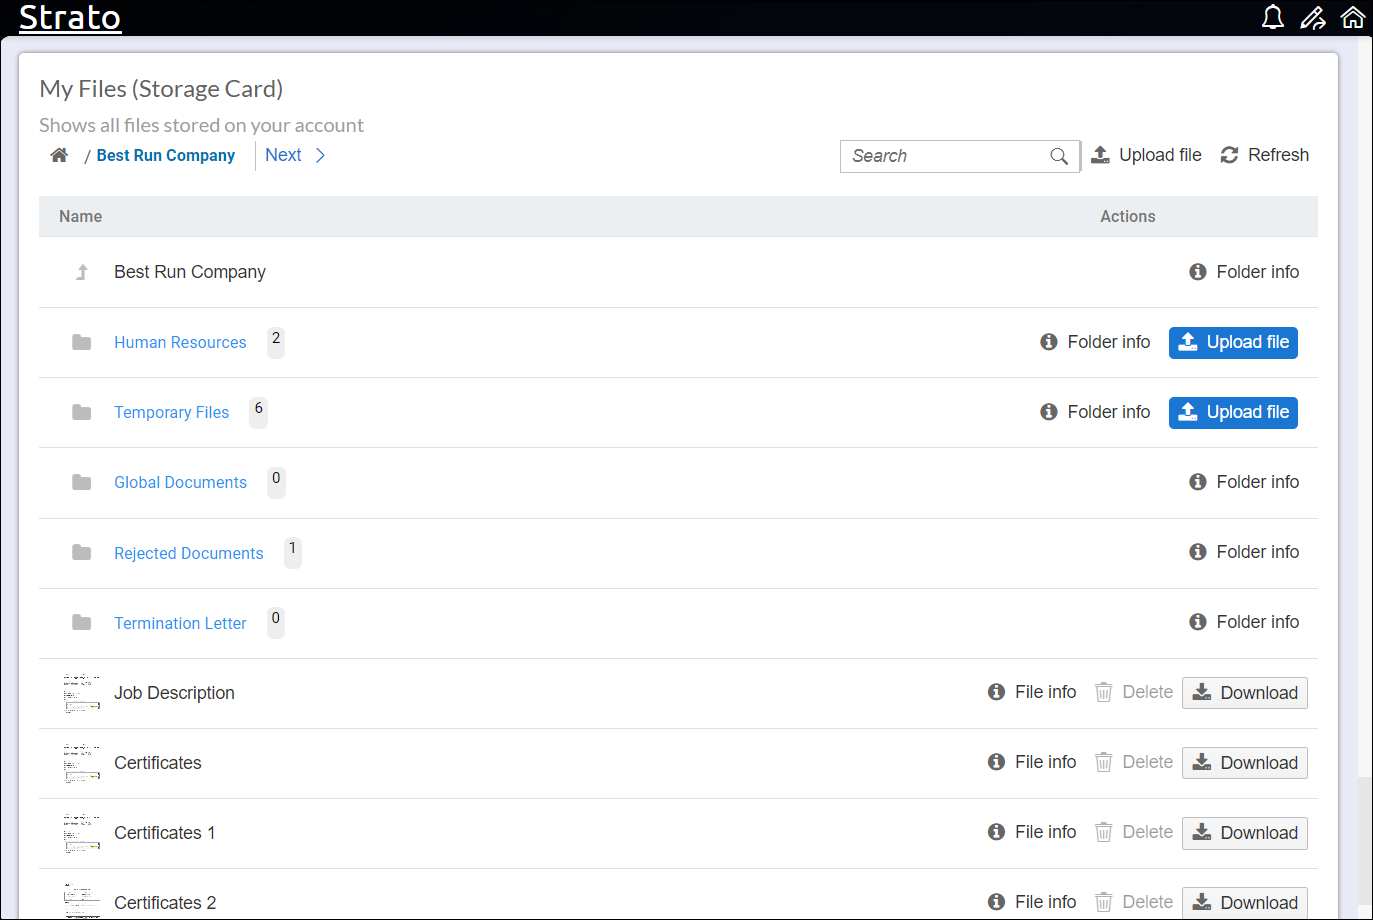
1. Navigate to the destination folder of your file(s).
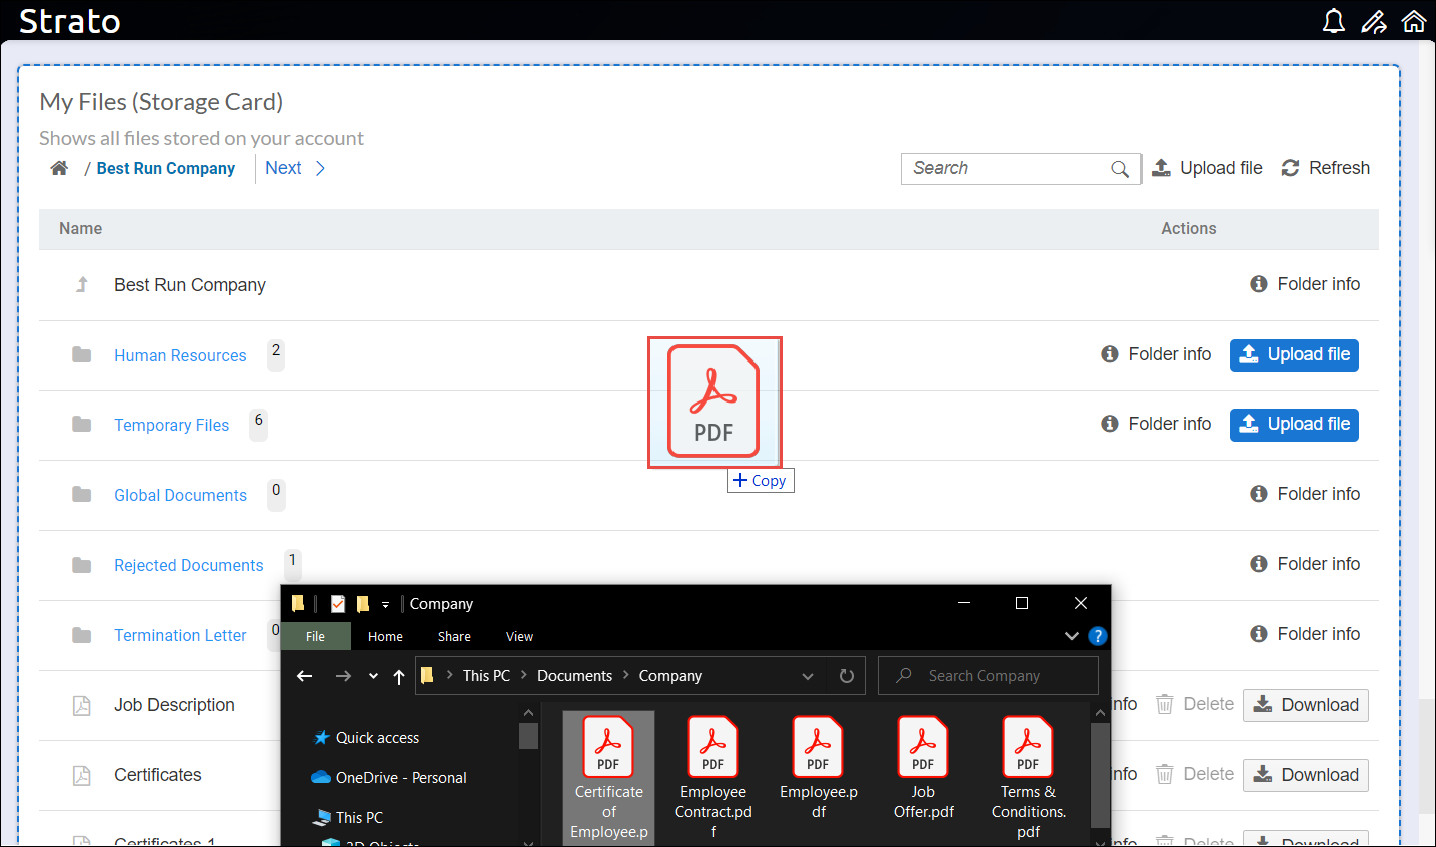
2. Hold the selected file(s) from your local drive and drag the file(s) up to the Storage Card.
Uploading File to a specific folder via the ‘Drag-and-Drop’ feature
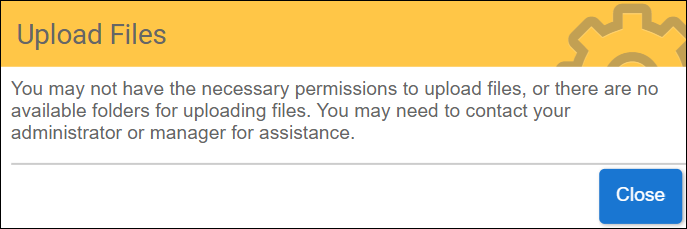
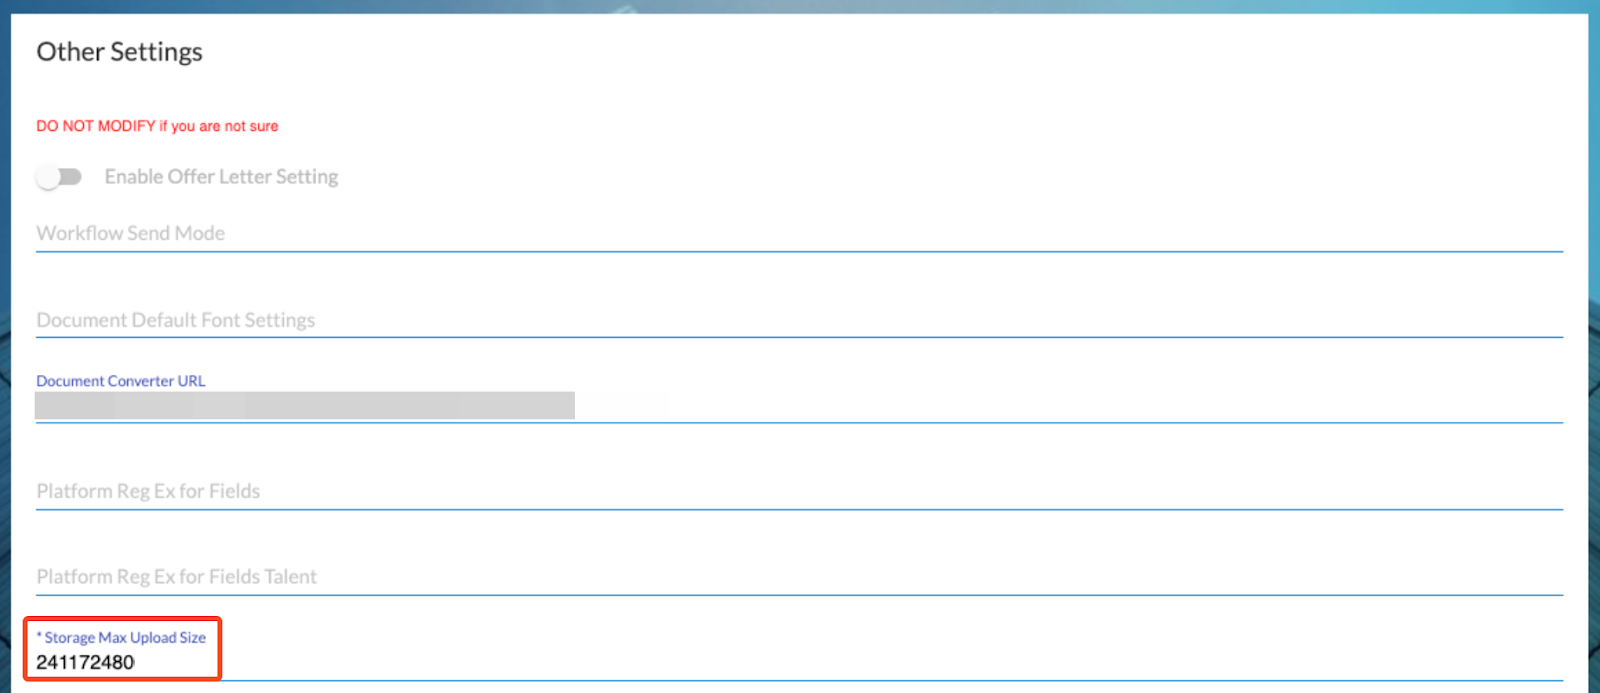
Note: If there are no allowed folders available for file uploads, an error message will appear.
3. To proceed with uploading your file(s), configure file-specific settings from the pop-up screen. Once configured, click ‘Upload’.
The file(s) will be successfully uploaded in the specific folder.
'Upload Files' Information - Settings
After successfully selecting a destination folder for file(s) to be uploaded, File Information must be configured to proceed with the upload.
‘Upload Files’ Information
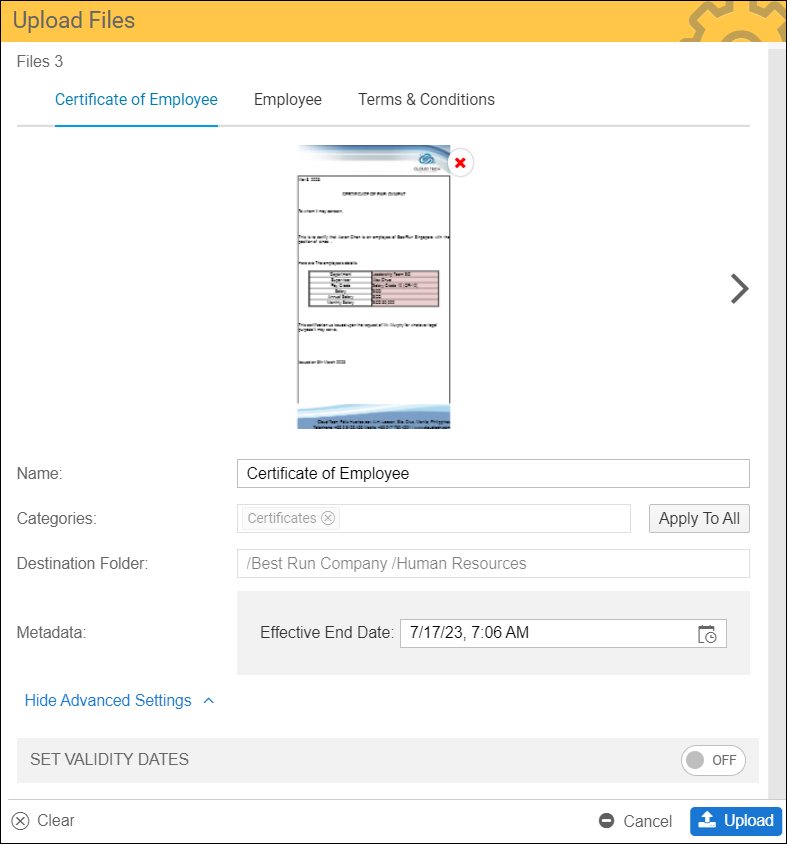
| ‘Upload Files’ Information - Settings | Description |
| Name | This field is where the user inputs the file name. |
| Categories | Displays the category based on the categories assigned to the destination folder. |
| Destination Folder | Displays the file path where the file is being uploaded. |
| Metadata | This field displays the properties of the selected category. |
| Delete (X) button | Allows the user to remove the uploaded file. |
| Navigation Arrow | The navigation arrow only appears once the user uploads two or more files, allowing them to configure each file separately. |
| ‘Apply to All’ button for Categories | This button is applicable when there are multiple files selected for upload. When clicked, the currently selected category will be applied to all files selected for upload. |
| Show Advanced Settings | Hides additional tools and options that can be configured by the user. |
| Set Validity Dates | Found in the Advanced Settings, this action enables the user to specify validity dates and set the status (Active, Archive, Expired, or Deleted) for the uploaded file(s). By default, this toggle is turned OFF. |