Configure and Manage User Properties
This article explains how to configure and manage User Properties.
Requirements
Make sure that New Feature - Authorisation Framework is installed in the Upgrade Centre.
Basic knowledge of how to navigate User Properties and SuccessFactors APIs and fields are required.
Add Properties
The Add Property button allows you to create a new User Property. This will redirect you to the New Property page, where you can fill up the details for the new User Property.
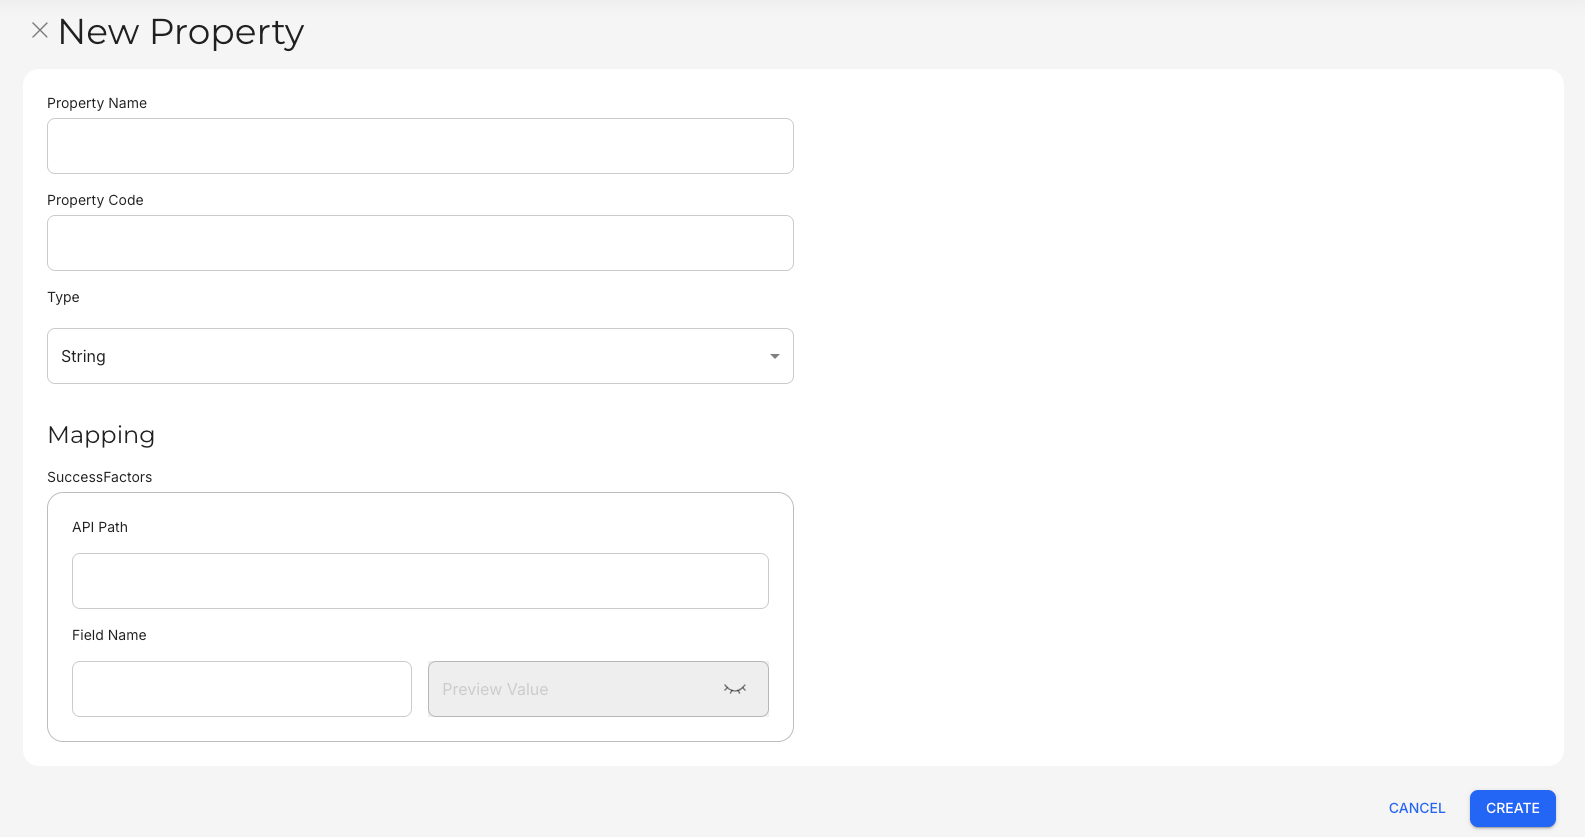
The following fields must be completed to add a new User Property:
Field | Character Limit | Character Types |
|---|---|---|
Property Name | Up to 250 characters | Can include:
Spaces are allowed. |
Property Code | Up to 250 characters | Can include:
Spaces are not allowed. Property Codes must be unique. |
The Type field is a dropdown menu where you can choose one of the following options:
Option | Explanation |
|---|---|
String | Allows the field to hold up to 250 characters, and can allow for most characters except for restricted ones. |
Number | Allows the field to hold whole numbers and decimal numbers (up to four decimal places). |
Date | Allows the field to hold date values. |
Boolean | Allows the field to hold True or False values. Fields are set to False by default. |
Optionally, you can map a User Property to different data sources. Currently, Strato only offers mapping to an existing SuccessFactors (SF) field.
The following fields are specific to SF:
- API Path: Specify the address in SF's User entity where the SF field can be found.
- Field Name: Specify the name of the field to be mapped to the User Property. Strato will retrieve the value to be attached to the User Property from the specified field.
- Preview Value: To test if the User Property has been successfully mapped to an SF field, click the Preview button to see what value will be displayed. The sample values will come from the currently logged in user.
Edit Properties
You can edit a User Property by clicking the More button, and then Edit. This will redirect you to the Edit Property page.
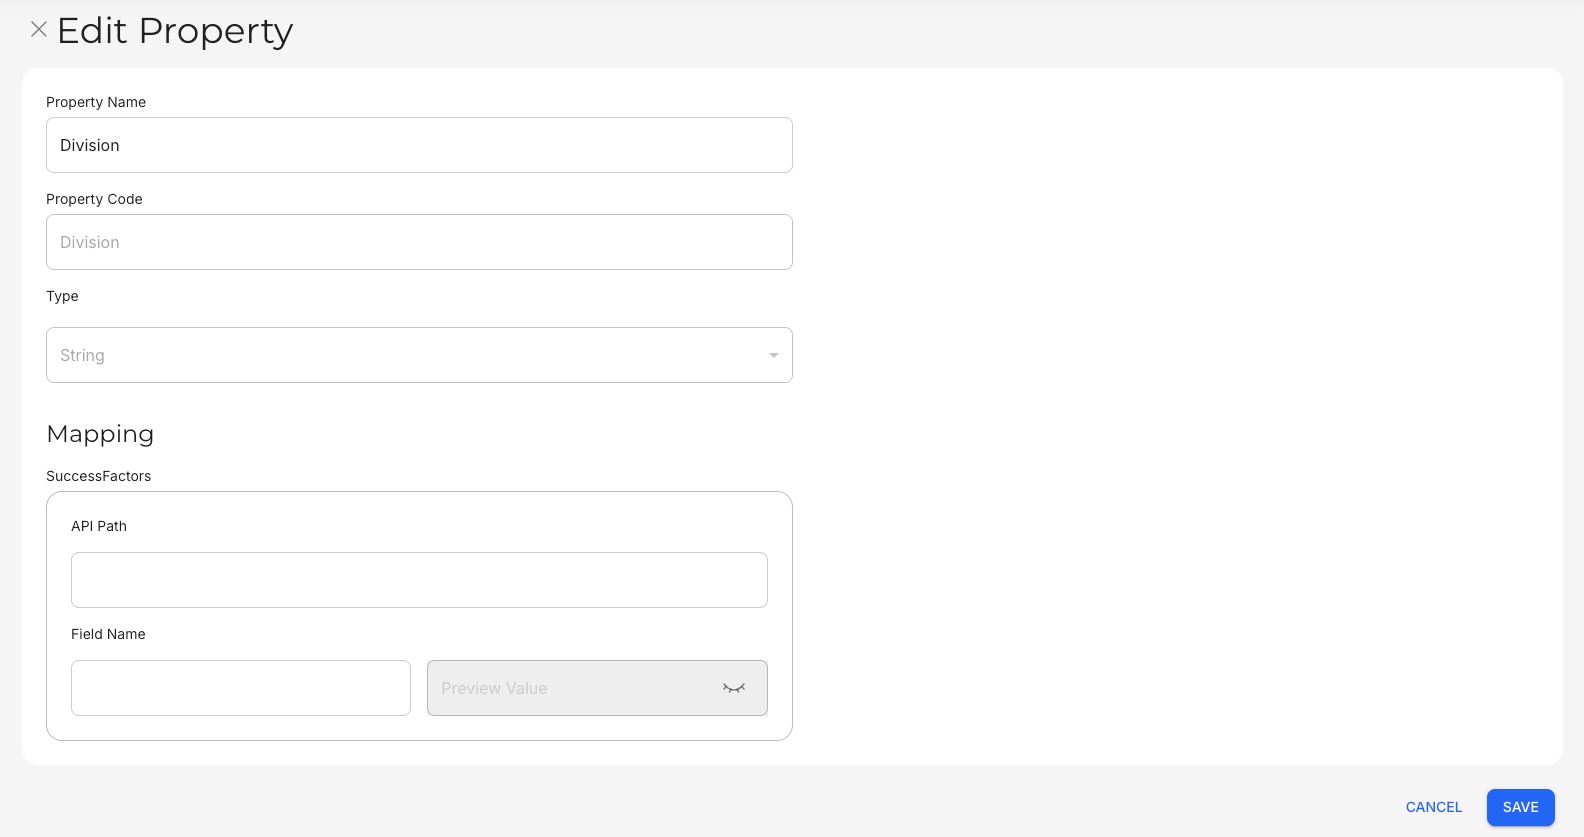
Edit Property only allows you to edit the Property Name and Mapping fields.
Delete Properties
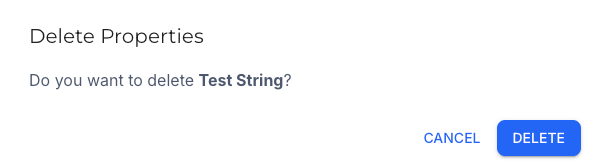
You can delete a User Property by clicking the More button, and then Delete. A prompt will appear, asking if you want to delete the selected User Property.
Continue Setting Up
After you create custom User Properties, it is recommended that you create and manage Policies to ensure that the proper accesses and permissions are set up.