Configure and Manage Groups
This article explains how to configure and manage Groups.
Requirements
Make sure that New Feature - Authorisation Framework is installed in the Upgrade Centre.
Basic knowledge of how to navigate Groups is required.
Add Groups
The Add Group button allows you to create a new Group. This will redirect you to the New Group page, where you can fill in the details for the new Group.

The following fields must be completed to add a new Group:
Field | Character Limit | Character Types |
|---|---|---|
Group Name | Up to 250 characters | Can include:
Spaces are allowed. Group Names must be unique. |
Description | Up to 1000 characters | Allows most characters, except for restricted characters. |
The Add Users to this Group dropdown menu allows you to choose how to add users to the Group. There are three ways to add users:
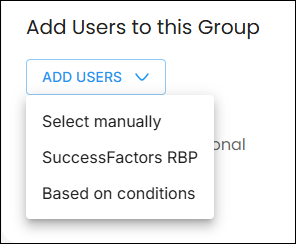
- Select manually: The Select Users modal allows you to select users to add directly to this Group.

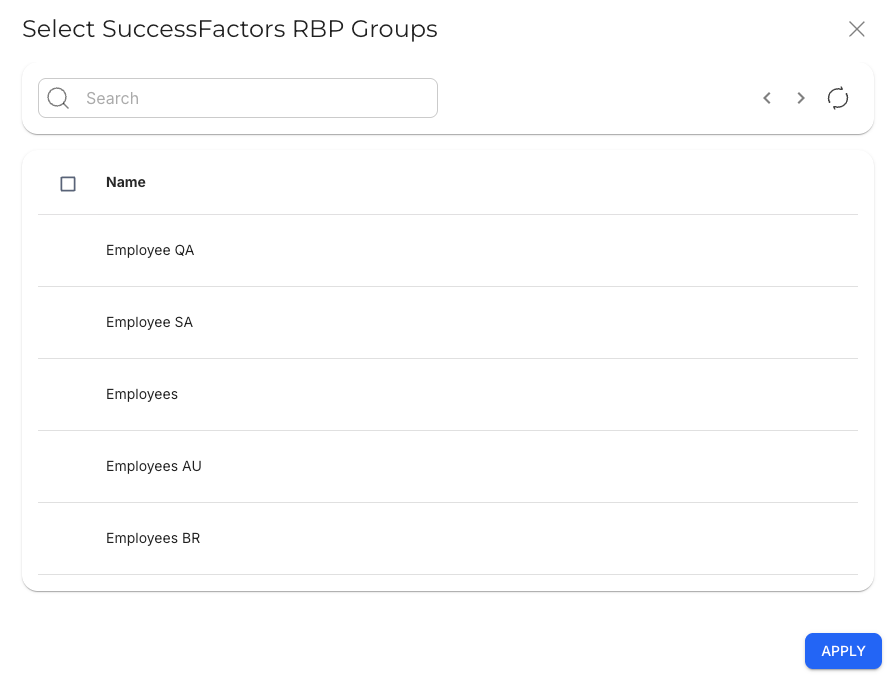
- SuccessFactors Role-Based Permissions (RBP): The Select SuccessFactors RBP Groups modal allows you to select which RBPs to add, which will fetch all users that belong to the selected RBPs.
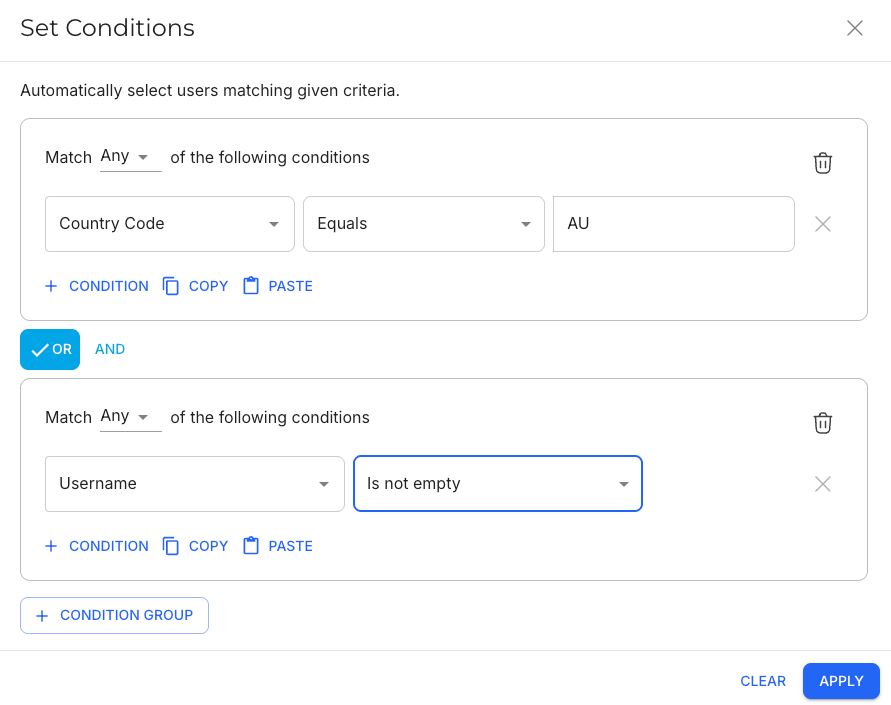
- Based on conditions: The Set Condition modal lets you create rules to filter or match users based on specific criteria.
- You can create condition groups, where you can define which User Properties to check (for example, Country Code), how to compare it (for example, Equals), and values to compare it to (for example, AU). You can string multiple condition and condition groups together.
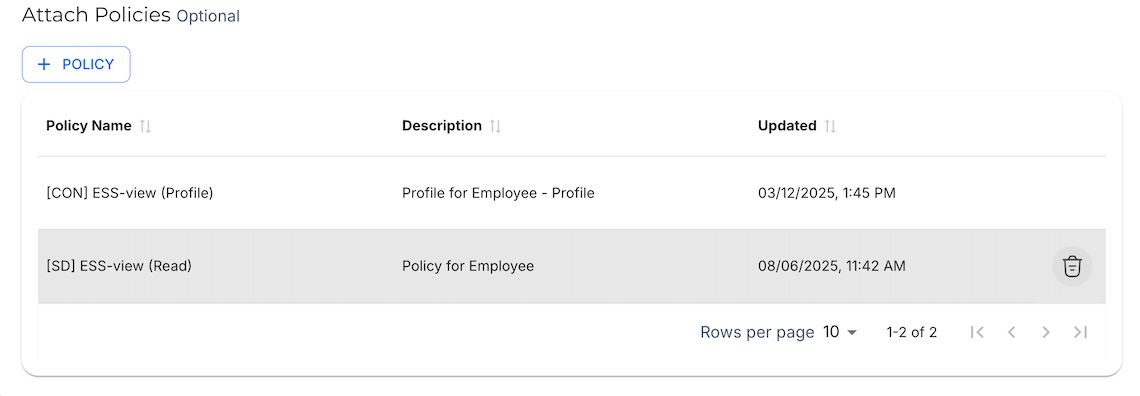
Optionally, you can attach Policies to a Group. Click the Add Policy button to open the Attach Policies modal.

The selected Policies will be granted to all users who are in the Group.

You can remove a Policy from the Group by clicking the Delete button.
Edit Groups
You can edit a Group by clicking the More button, and then Edit. This will redirect you to the Edit Group page.

The same fields from the New Group page can also be edited in Edit Group.
Clone Groups
You can clone a Group by clicking the More button, and then Clone. This will redirect you to the Clone Group page.
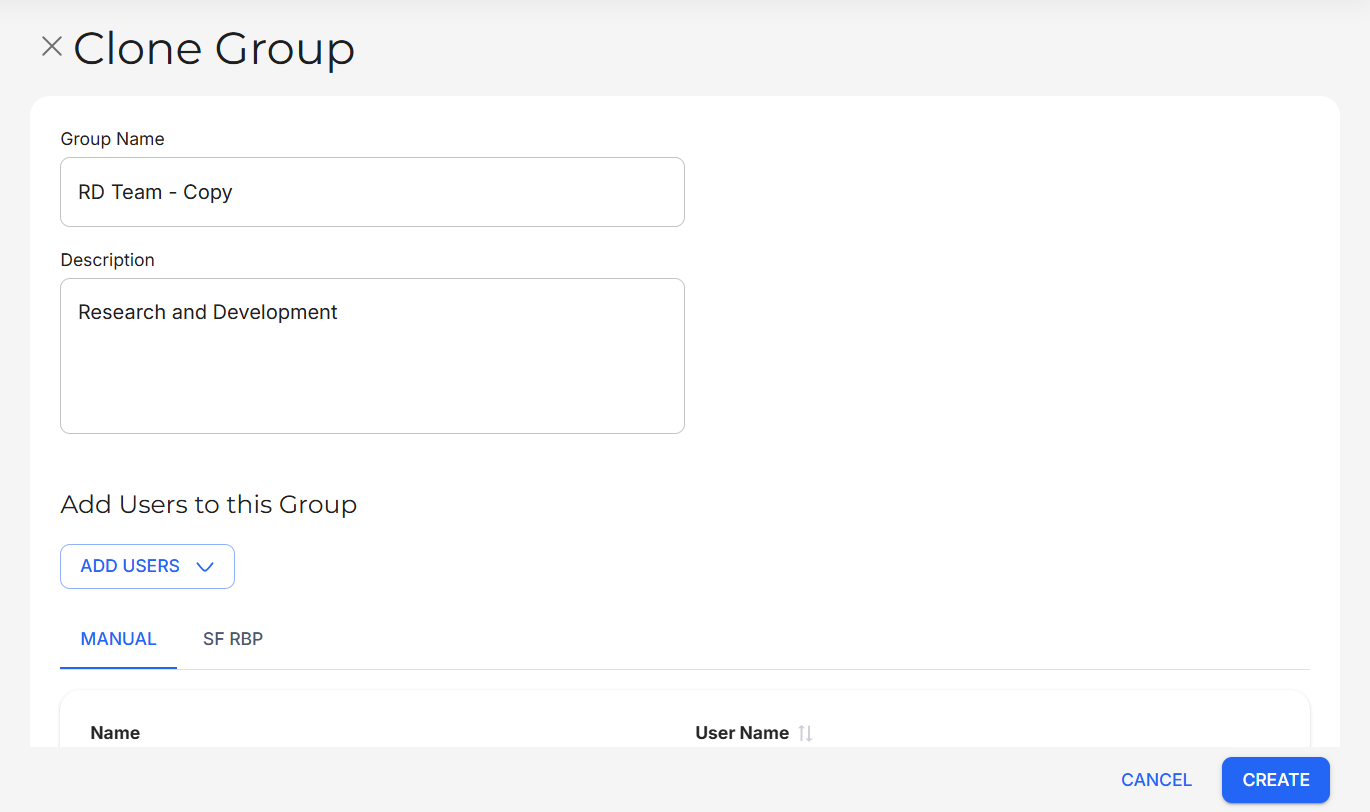
The new Group will inherit all details of the source Group. From here, you can edit the details like you would in New or Edit Group.
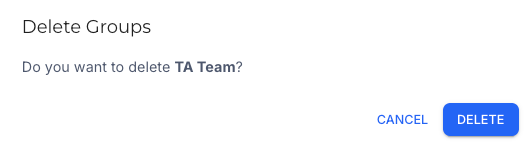
Delete Groups
You can delete a Group by clicking the More button, and then Delete. A prompt will appear, asking if you want to delete the selected Group.