Configure Strato Reporting via API
This article explains how to configure Strato Reporting via an API request.
Requirements
Make sure that Strato Reporting is installed in the Upgrade Centre.
A foundational knowledge and experience with APIs and API client applications like Postman are required.
If creating a report on Workflows, ensure that the target Workflow is configured and working properly.
Instructions
Create or Update a Report Configuration
To create a new Strato Reporting configuration or update an existing one, follow the steps below:
- Type the URL in the format
<System URL>/report/workflow/settingsand set the method to POST. 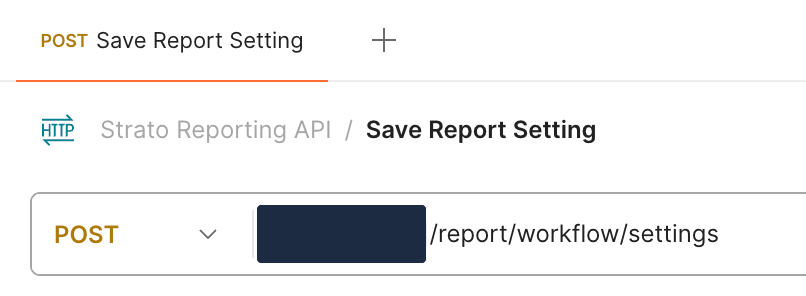
- Go to the Authorization tab and set the Auth Type to Bearer Token. Fill in the Token field with your Bearer Token.

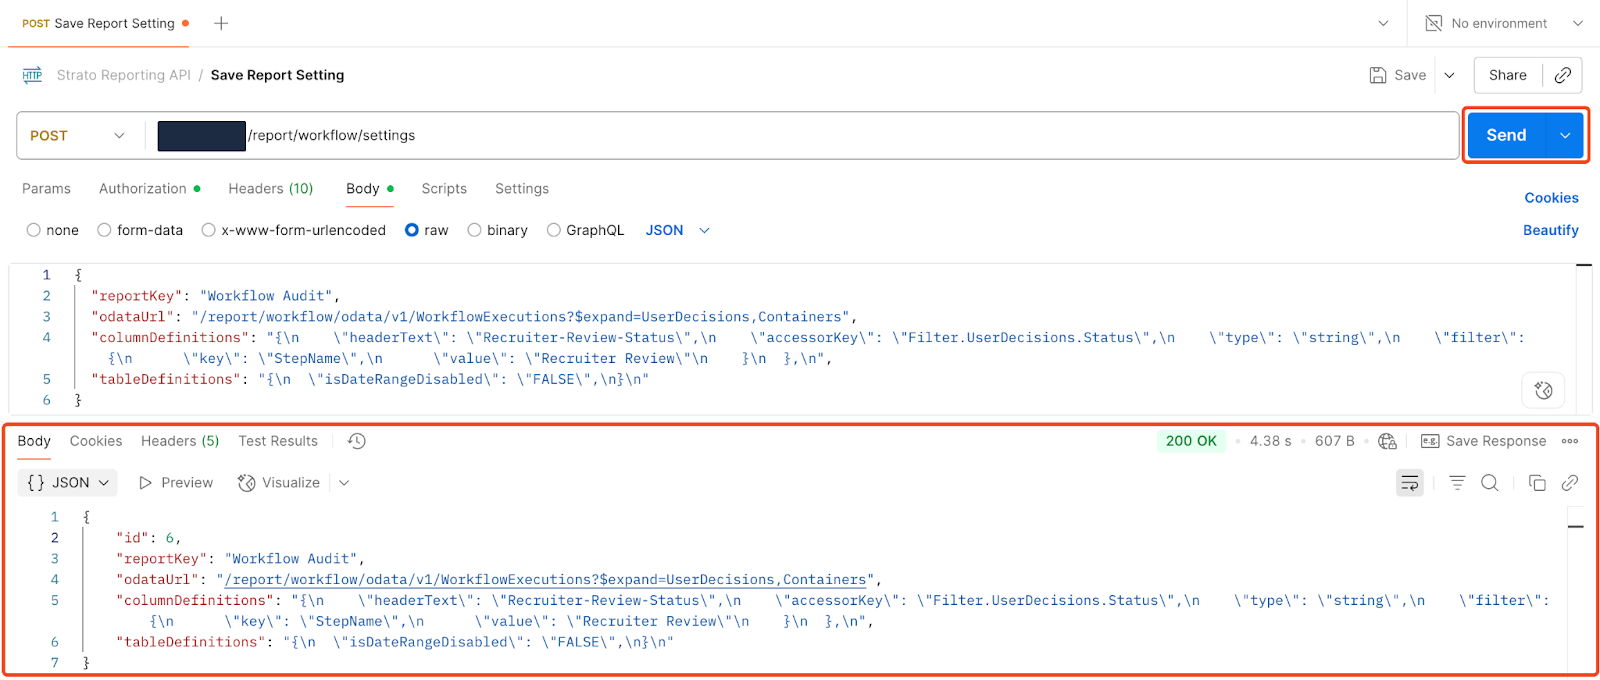
- Go to the Body tab. Set the request body to raw and update the corresponding values:
{
    "id": "<optional, string>",
    "reportKey": "<string, unique>",
    "odataUrl": "<string>",
    "columnDefinitions": "<stringified JSON, string>",
    "tableDefinitions": "<stringified JSON, string>"
}- The table below provides an explanation for each of the keys and expected values:
- KeyRequired / OptionalValue
idOptionalThe unique ID for the report configuration.
If you are updating an existing Strato Reporting configuration, add its ID here.
If no value is added, a new configuration will be created.reportKeyRequiredMust be a unique value.
If you are creating a new configuration or updating an existing one and you use an existingreportKey, the API will return an error.odataUrlRequiredThe URL to the OData entity you will use in the report.
columnDefinitionsRequiredThe columns of your report. This must be in stringified JSON format.
tableDefinitionsRequiredThe columns of your report. This must be in stringified JSON format.
- For the
columnDefinitions, the table below provides an explanation for each of the keys and expected values: - KeyRequired / OptionalValue
accessorKeyRequiredThe column field. This is based on the OData entities that are currently supported.
headerTextRequiredThe text you want to appear as the column header. For spaces between text, use - (hyphen).typeRequiredThe type of value in the column. This is used when doing basic search to determine what operand to use.
If the type is “Date”, the text will be formatted in the default format, unlessdateFormatis set in the column.enableSortingOptionalAllows the column to be sorted. Array columns are currently not supported.sizeOptionalThe width of the column. The default is set to 200.isSearchableOptionalSpecifies if the column will be searchable through basic search.isArrayOptionalIf the value you are trying to access is in an array or object, this will allow the report to find the data you are looking for based on the providedaccessorKey.dateFormatOptionalIf the value for the column is a date, the format can be set here.
isClickableLinkOptionalSpecifies if the object in the column is a clickable link.
If the value in the column is a valid URL and this property is enabled, the value will display as a clickable link. Otherwise, the value should show as plain text.filter: {"key": "","value": ""}OptionalCreates a custom column based on the filter values.
The
keywould be the OData Entity to be filtered, and thevaluewould be the value to be obtained.For example, a user wants to get the Status for the User Decision using a filter. In this case, the values would be:
key: UserDecisionsvalue: Status
Additionally, the
accessorKeyshould follow the formatFilter.Object.Value:- Filter: The word "Filter".
- Object: The same value as
key. - Value: The same value as
value.
Following the example above, the
accessorKeywould beFilter.UserDecisions.Status. - A sample
columnDefinitionsin stringified JSON would look like this: "[{
\"accessorKey\": \"<string>\",
\"headerText\": \"<string>\",
\"type\": \"<string | number | Date>\",
\"enableSorting\": \"<optional, boolean, false>\",
\"size\": \"<optional, number, 200>\",
\"isSearchable\": \"<optional, boolean, false>\",
\"isArray\": \"<optional, boolean, false>\",
\"dateFormat\": \"<optional, string, 'Pp'>\"
}]"- For the
tableDefinitions, the table below provides an explanation for each of the keys and expected values: - KeyExplanation
dateRangeKeySpecifies which date field is used when filtering your report by a date range.isDateRangeDisabledSpecifies if the date range is disabled. - A sample
tableDefinitionsin stringified JSON would look like this: "{
\"dateRangeKey\": \"<string>\",
\"isDateRangeDisabled\": \"<string>\"
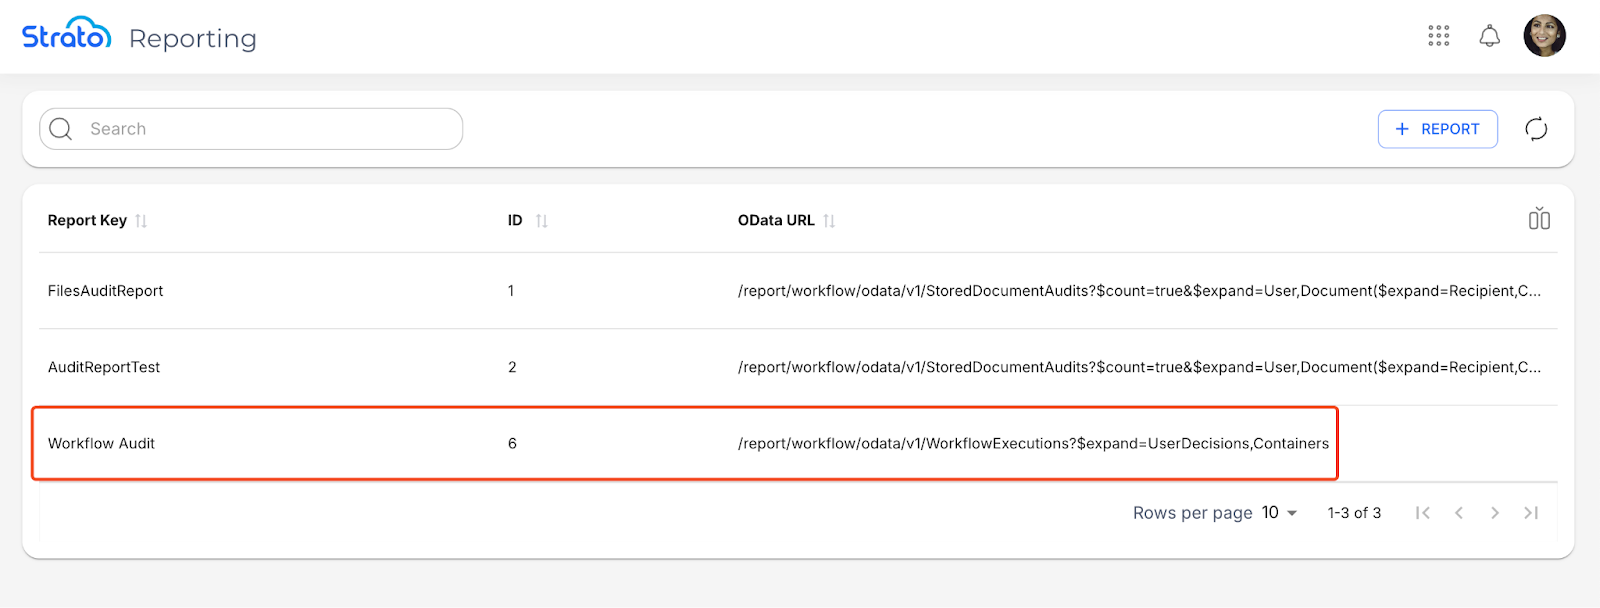
}"- Click Send. If done correctly, the API should return a success message and the report configuration should now show in Strato Reporting.
View Report Configurations
To view all existing Strato Reporting configurations, or a specific one, follow the steps below:
- Type the URL in the format
<System URL>/report/workflow/settingsand set the method to GET. 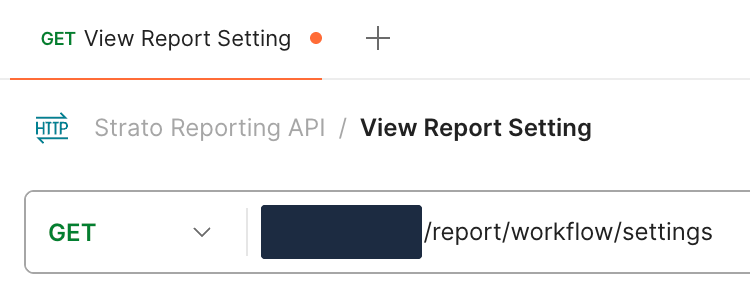
- Go to the Authorization tab and set the Auth Type to Bearer Token. Fill in the Token field with your Bearer Token.
- Go to the Parameters tab. If you want to view a single existing configuration, add a
reportKeyparameter with its corresponding value. Otherwise, if no value is provided, all existing configurations are returned. - Click Send. If done correctly, the API should return a success message and show the settings of all existing configurations (or a specific one if a
reportKeyhas been specified). 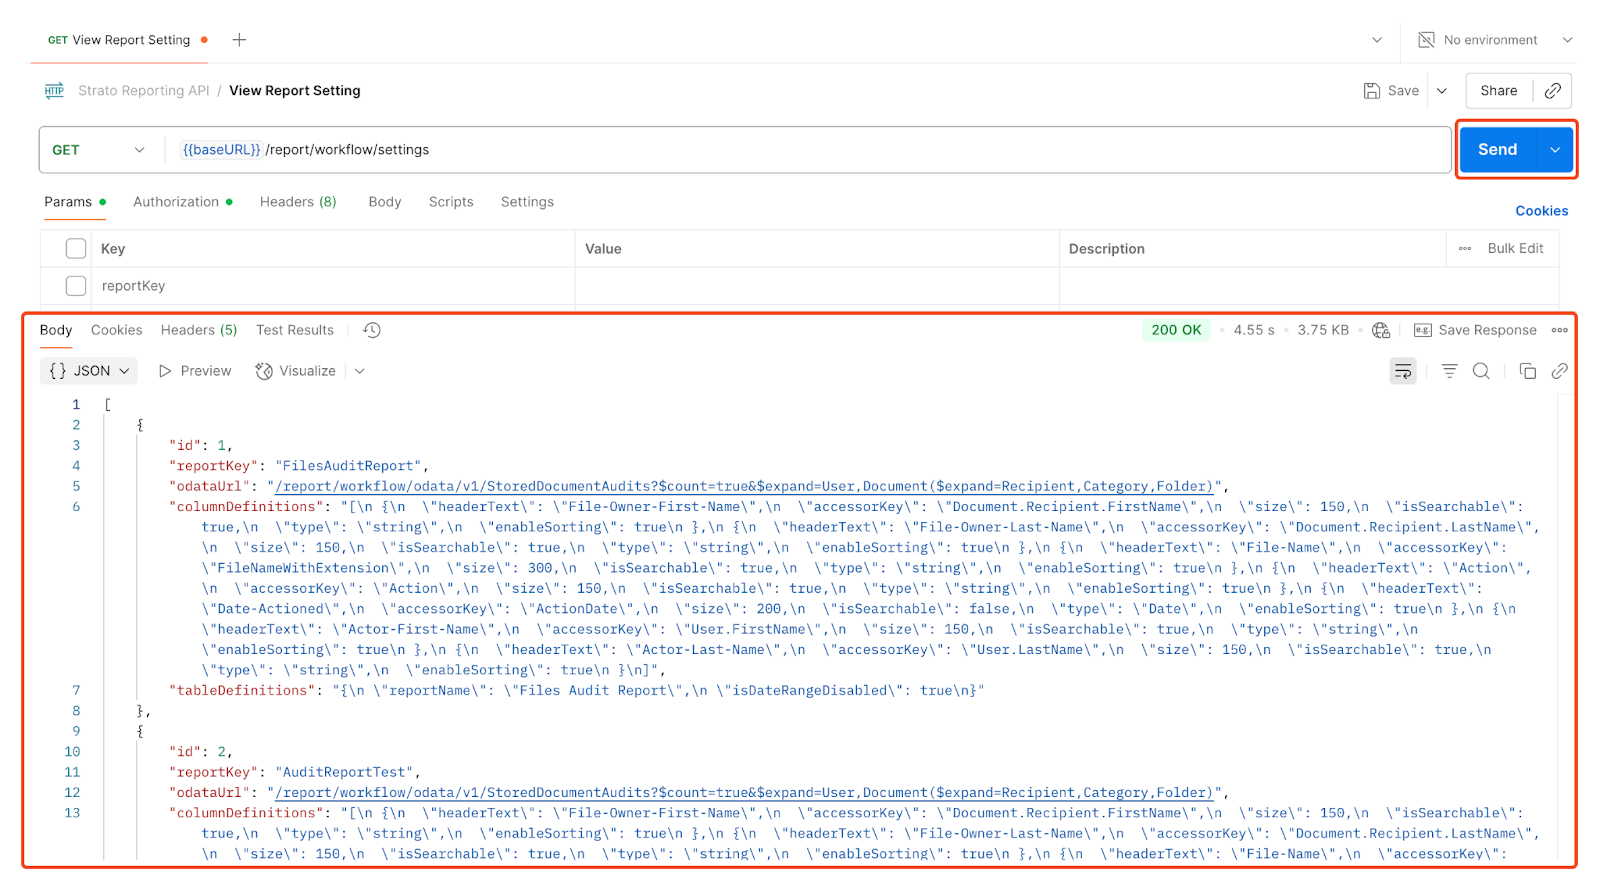
Delete a Report Configuration
To delete a Strato Reporting configuration, follow the steps below:
- Type the URL in the format
<System URL>/report/workflow/settingsand set the method to DELETE. 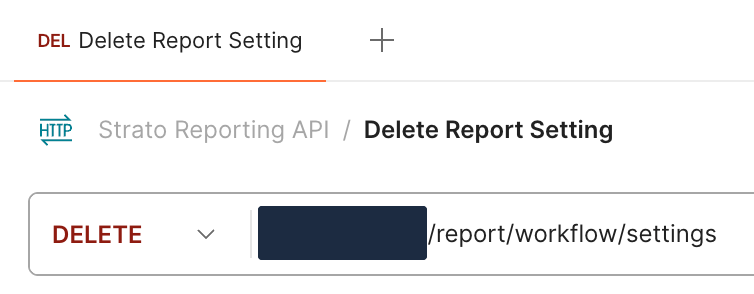
- Go to the Authorization tab and set the Auth Type to Bearer Token. Fill in the Token field with your Bearer Token.
- Go to the Parameters tab. Add a
reportKeyparameter with the corresponding value of the configuration you want to delete. - Click Send. If done correctly, the API should return a success message and delete the report configuration with the specified
reportKeyvalue. 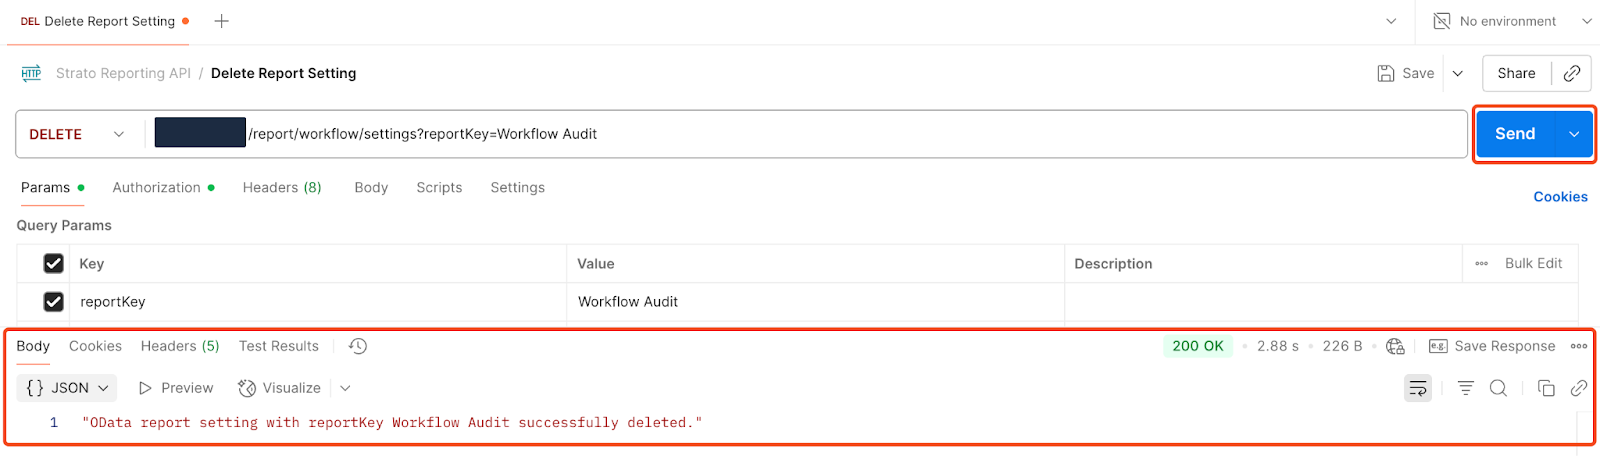
Related articles
- Strato Reporting
- Strato Reporting for Documents
- Strato Reporting for Workflows
- Navigate Strato Reporting