Create a Strato Document Template (Basic) [V1]
This article will walk you through the creation of a simple document in Strato.
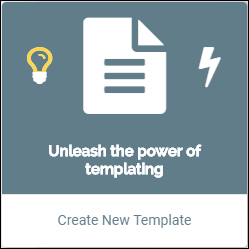
- From your Strato dashboard, click the Create New Template button or from the Library, click Actions > Create New Template.
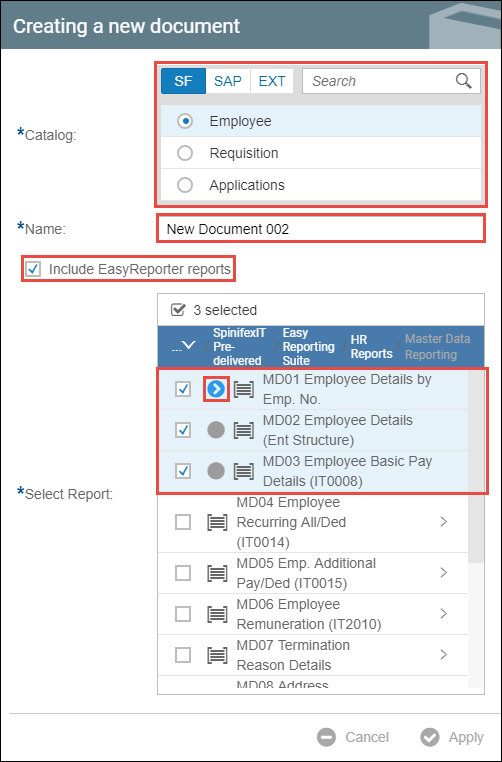
- A Creating a new document window will pop up. Select or search a catalog and then enter a name for your document. You can include EasyReporter reports by ticking the box at the bottom. You will then be asked to choose at least 1 report as the source of your fields from Easy Reporter. If multiple reports are chosen, select a main report. When done with your selection, click Apply.
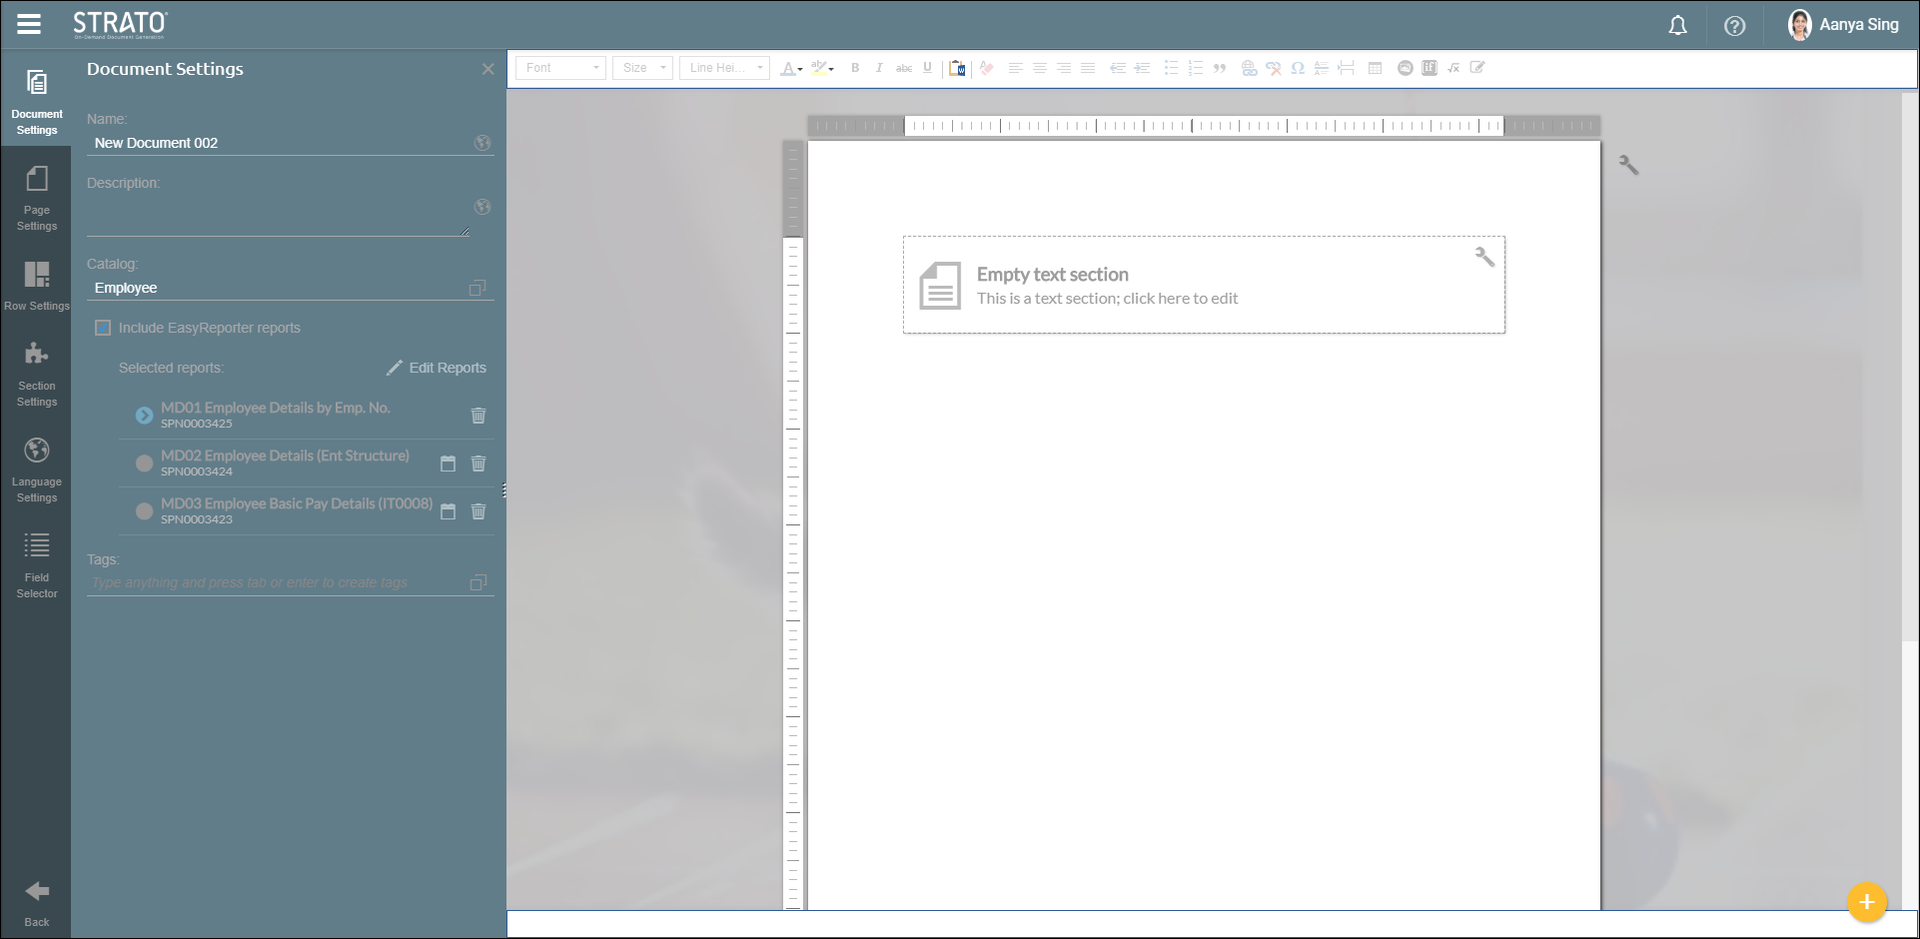
- You will see the document template editor. For information on each tab on the left and the text editing toolbar on top, read the articles in this section: Documents.
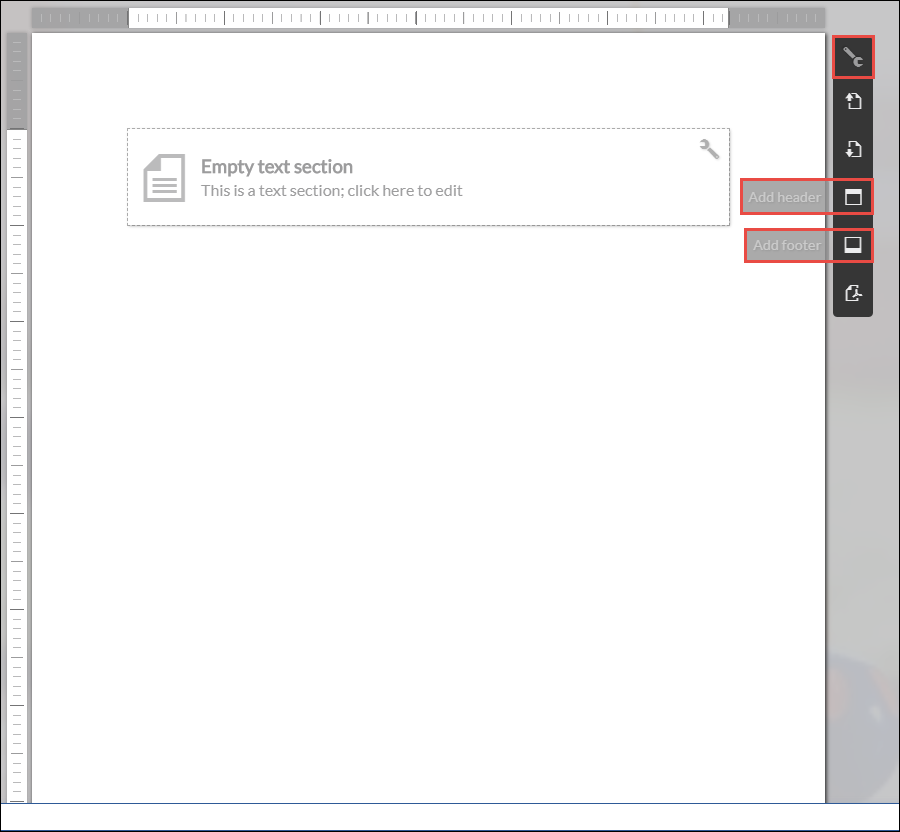
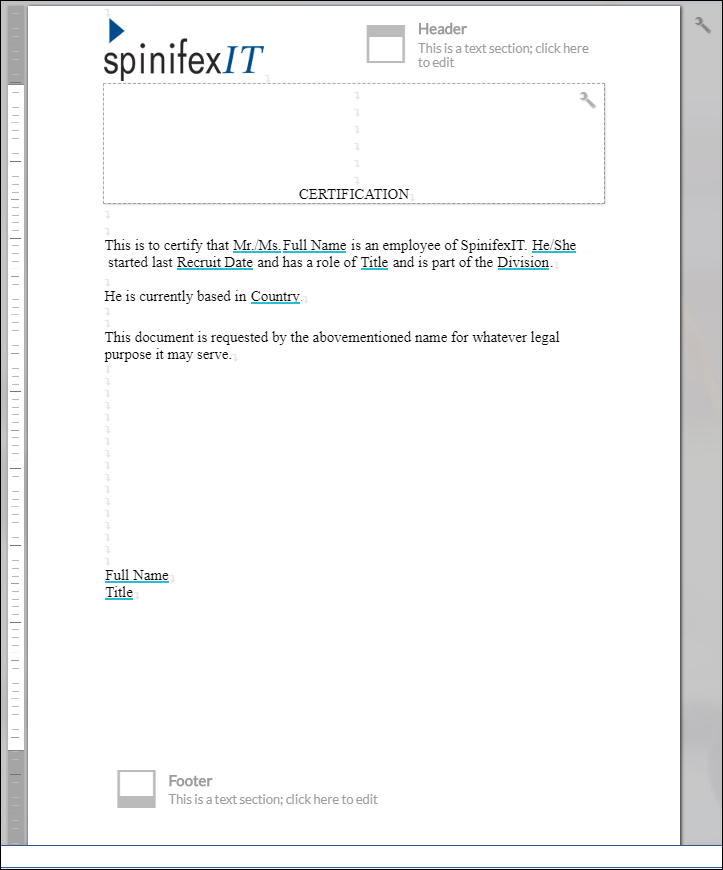
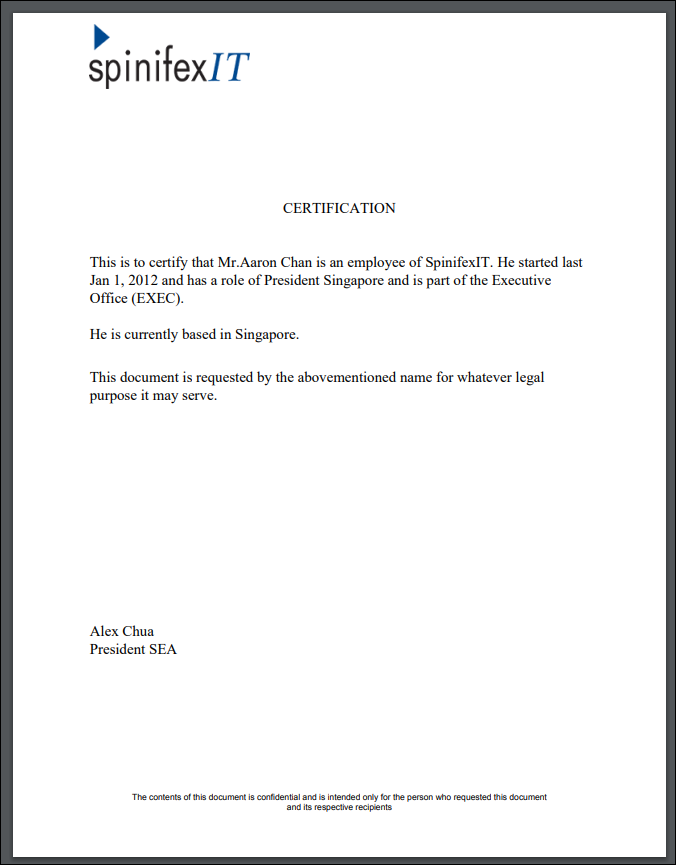
- For this article, a sample certificate of employment will be created. In the upper right corner of your page, click the Actions button and insert a header and a footer.
Your document should look like this: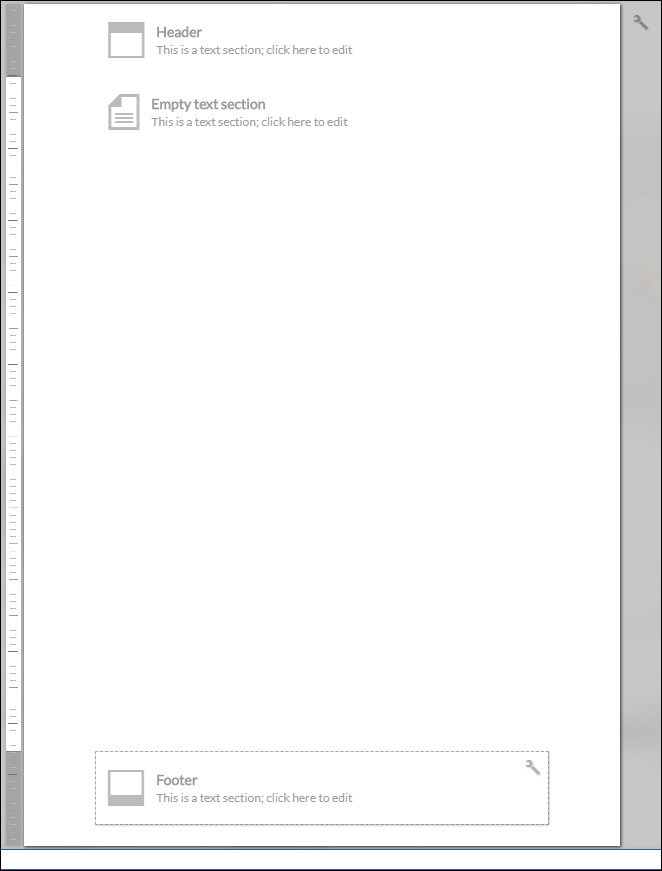
- If you would like to divide your text sections, this can be done by clicking the Actions button on the top right corner of your text section and then click Add Column.
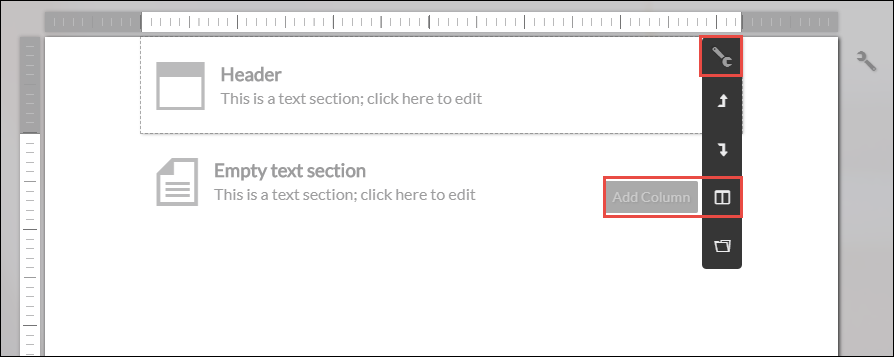
Your text section should look like this:
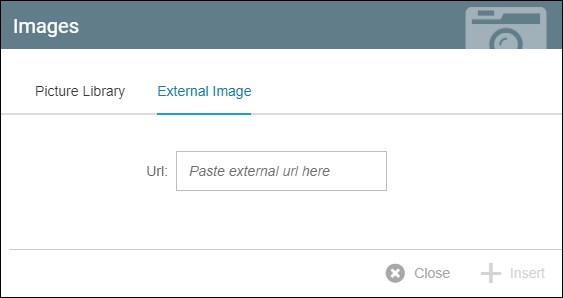
- If you would like to insert an image, click Picture Library from the toolbar.

Select any image from the existing ones or insert an external image via URL.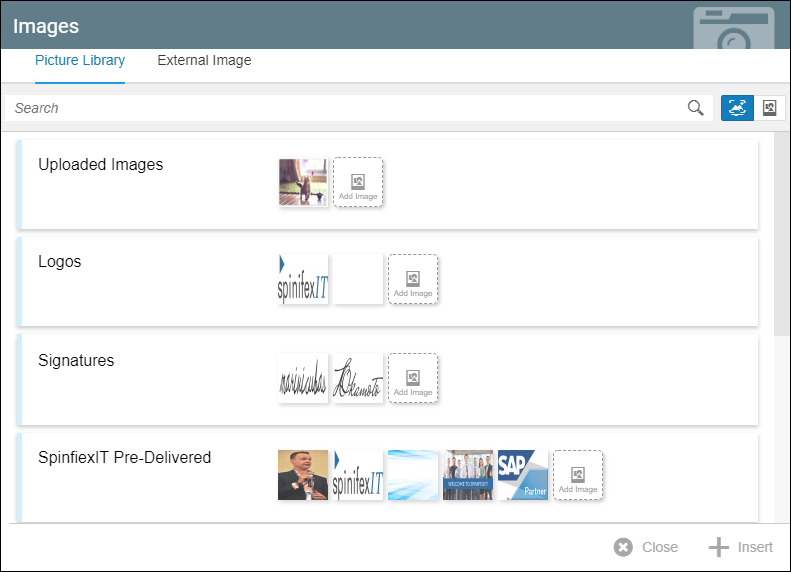
For this example, the SpinifexIT logo was inserted on the left column of the document header. It will look like this: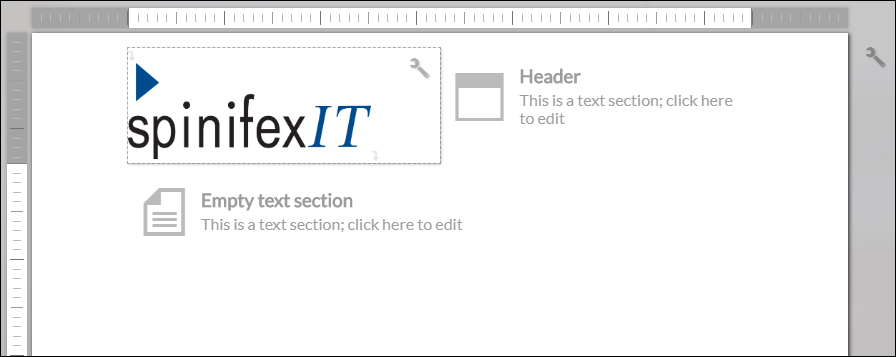
- For the body of the document, add as many sections as you want and use a combination of fields and text. Read Section, Page, and Document Actions and Field Selector articles for details.
- For the footer, you can load a section by following the instructions in this article Section, Page, and Document Actions, or you can just type your own footer.

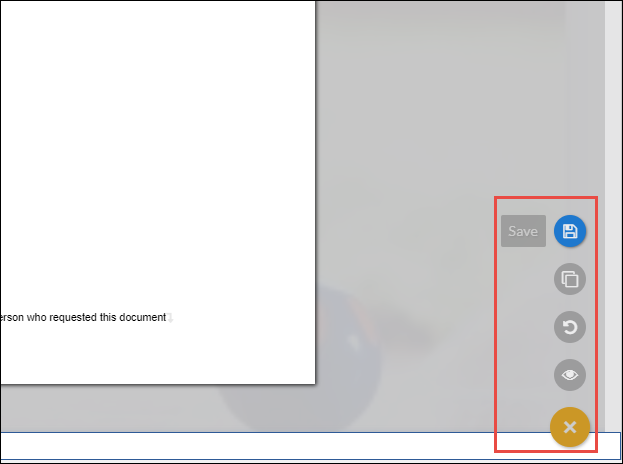
- On the lower right corner of your screen, click Actions and then click Save.
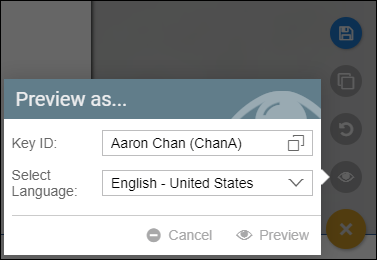
- Your document is now ready to be previewed. Again, from the Actions button, click Preview and select the person you want to preview the document as and select the Preview language. For more information on languages, read Language Settings. The previewed document will be displayed in a different tab.
For more information, read Creating a Document Template.