Text Sections [V1]
Text sections are available as soon as you create a new Document, Email, or Form Template. Text sections can host a combination of text and image elements, and can be used for creating the headers, footers, and body of your templates.

Features
Create a Header
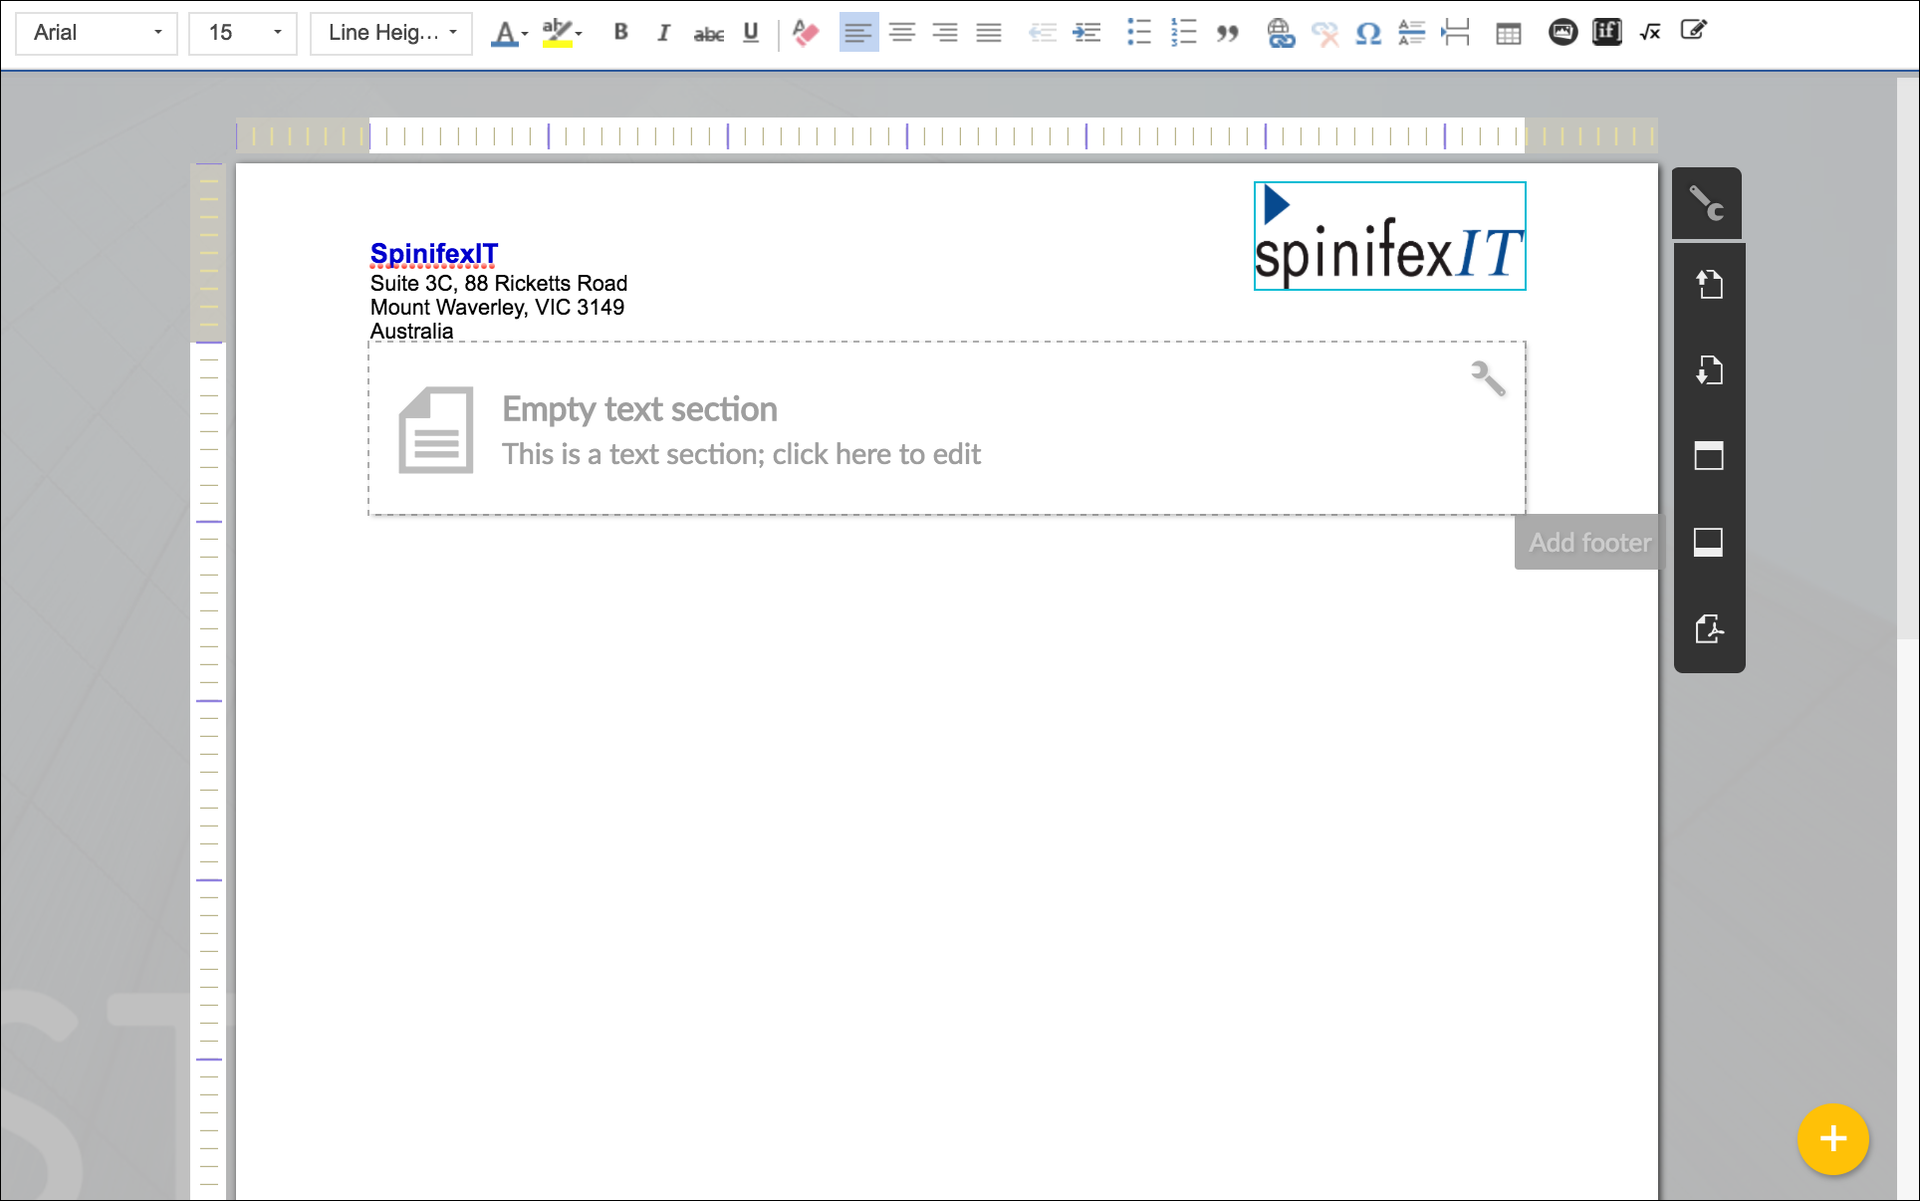
The header is the the topmost part of your document template. This is where you can place your company's logo, tag line, contact details, or company address.
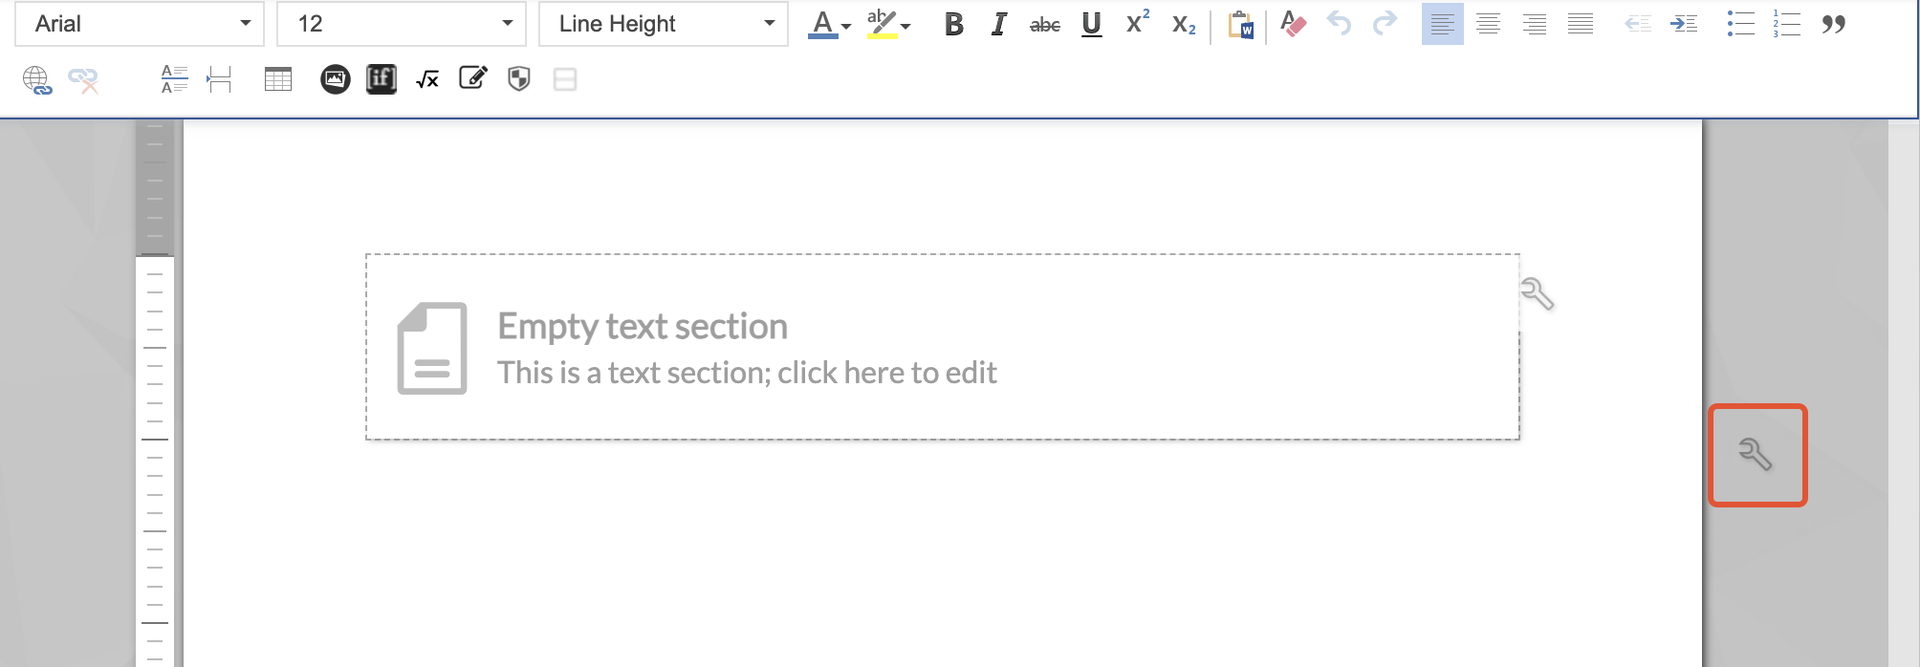
To add a header, select Page Actions from the top-right corner of your document.
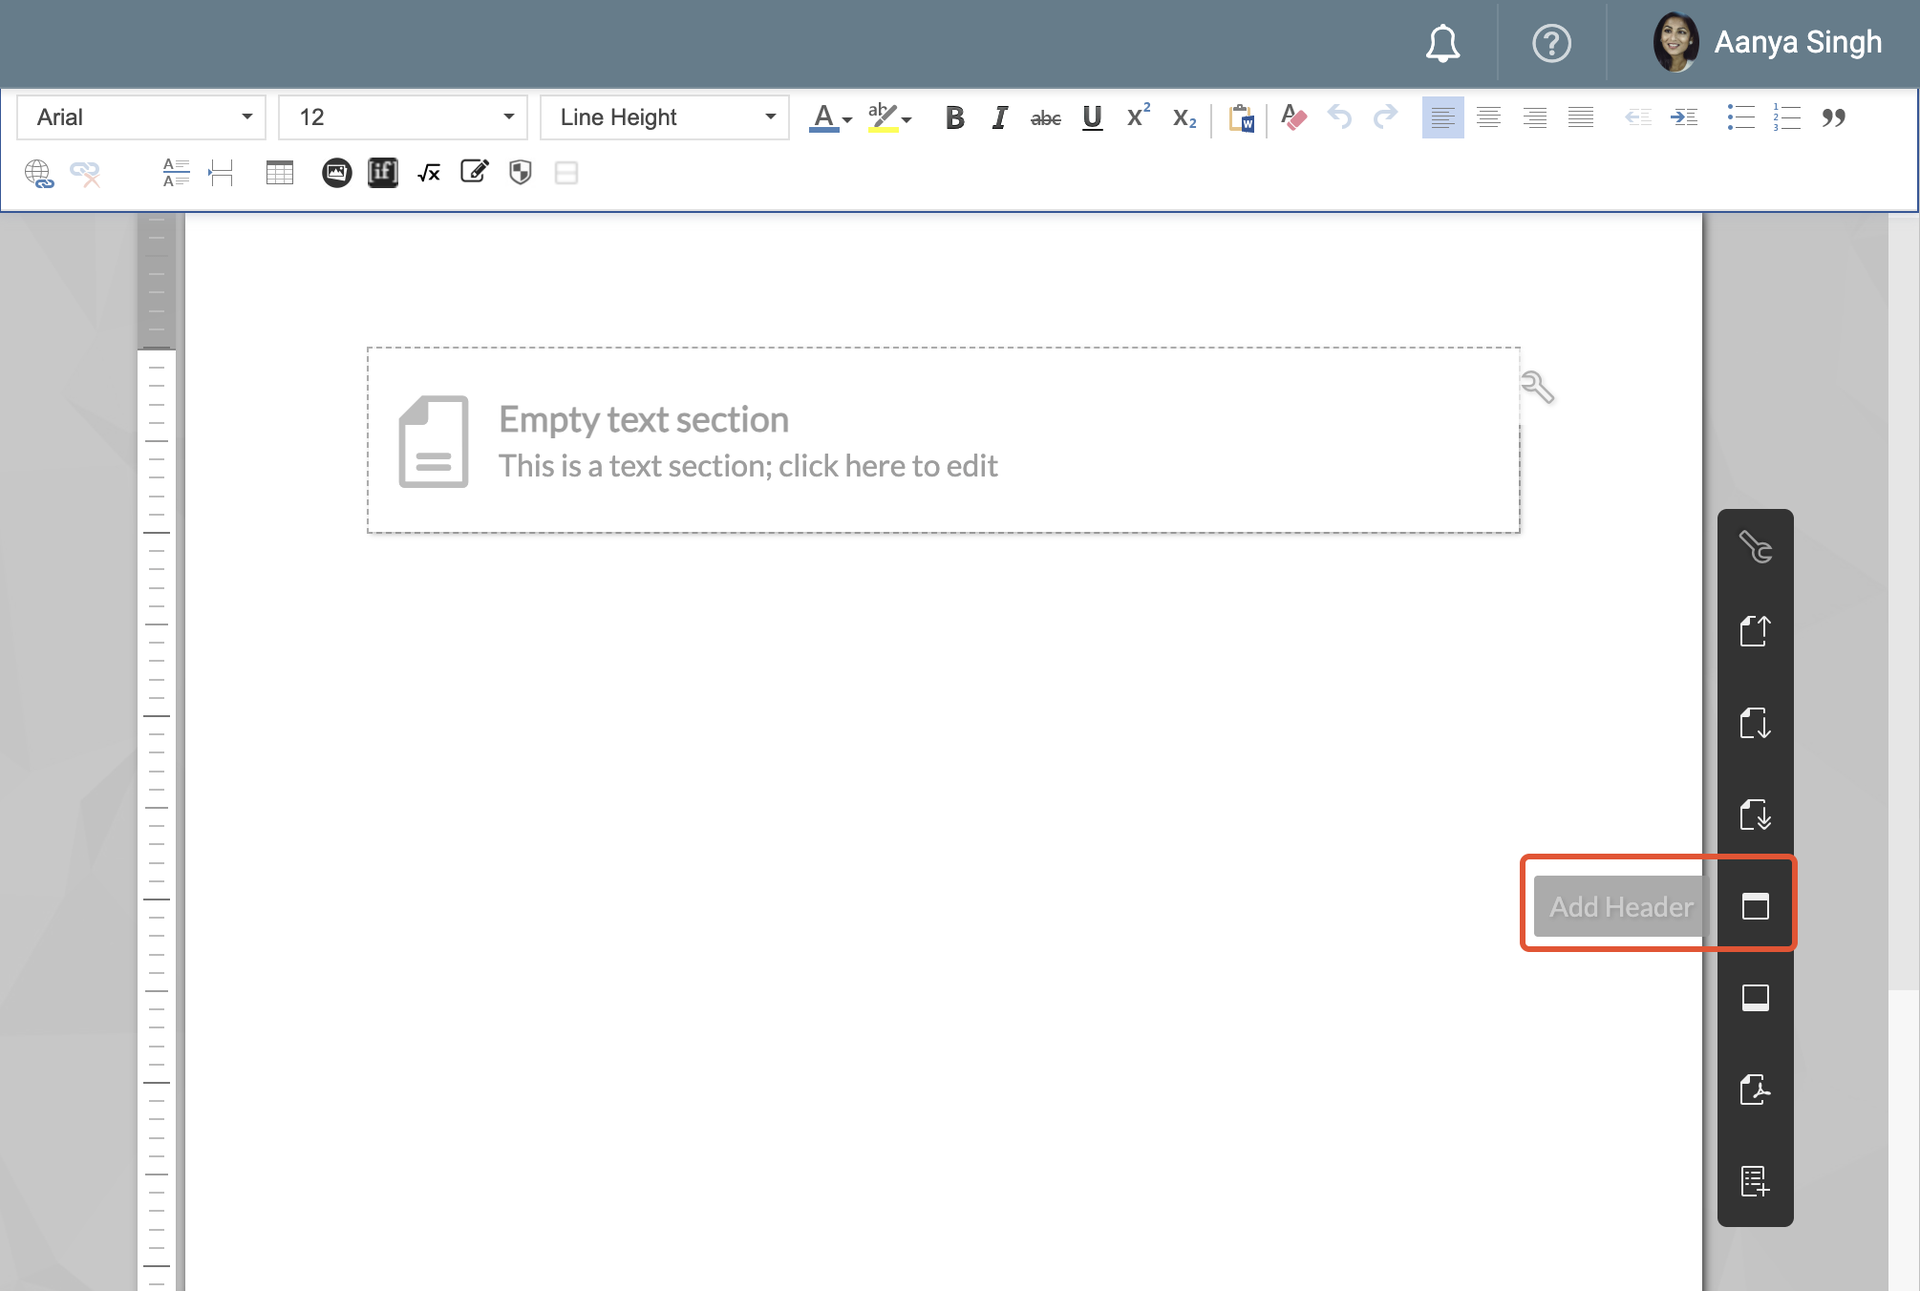
Click Add header.
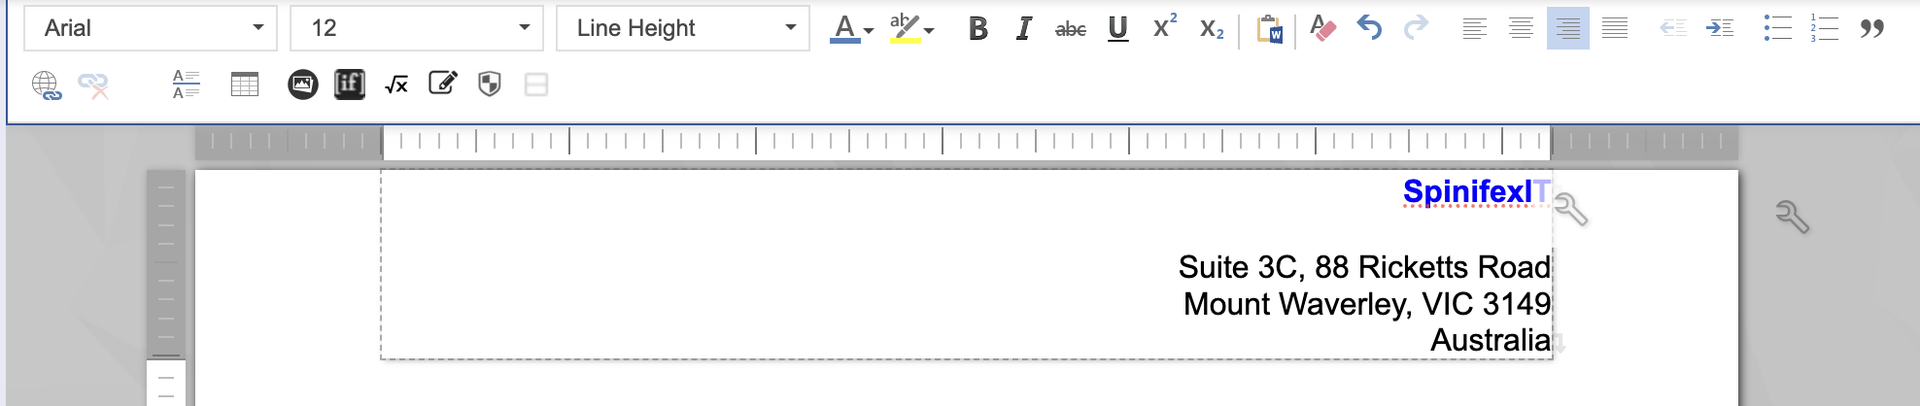
A new box will appear on top of the existing text section in your document template. You can type and format your text into the header's box, and change the size and alignment of the header by adjusting the page's margins.
Create a Two-Column Header
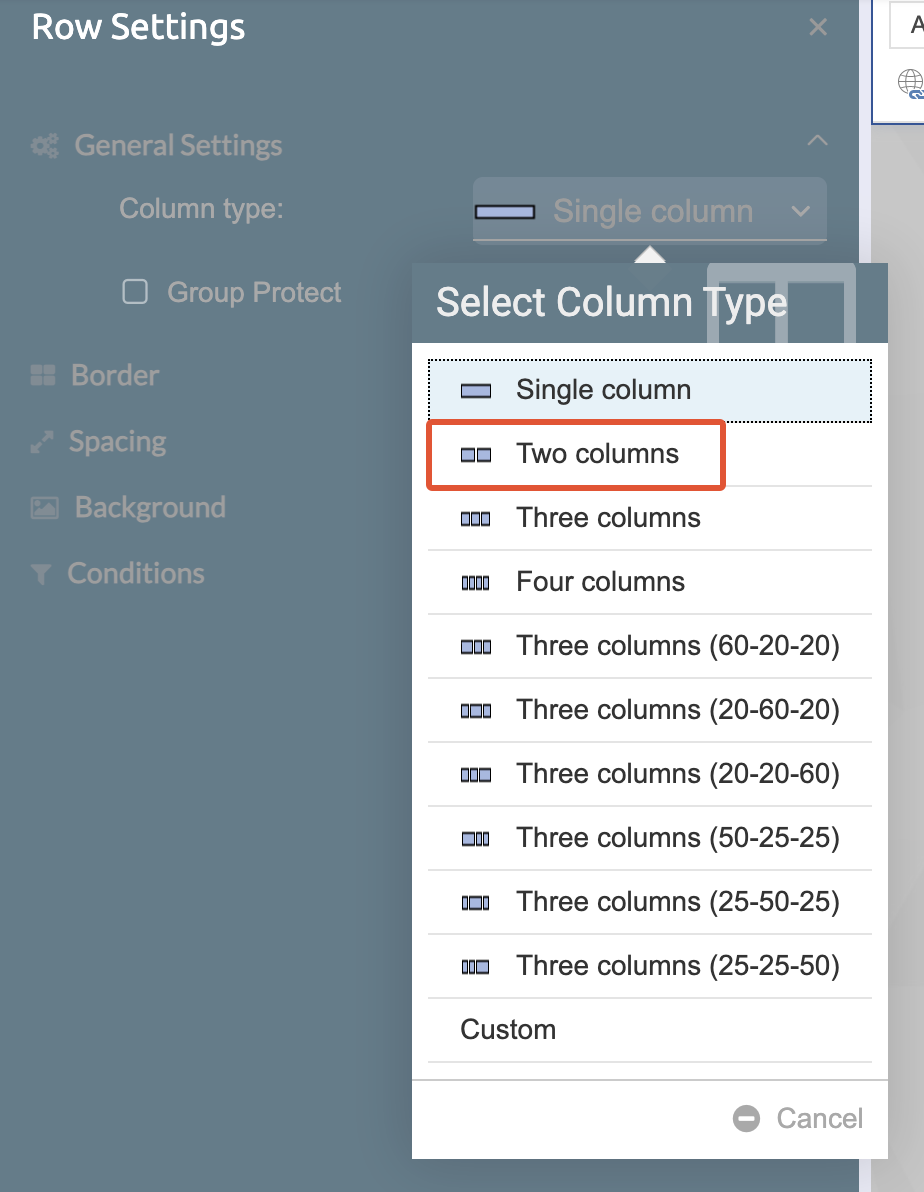
To create a header with two columns, click the Row Settings tab on the left sidebar.
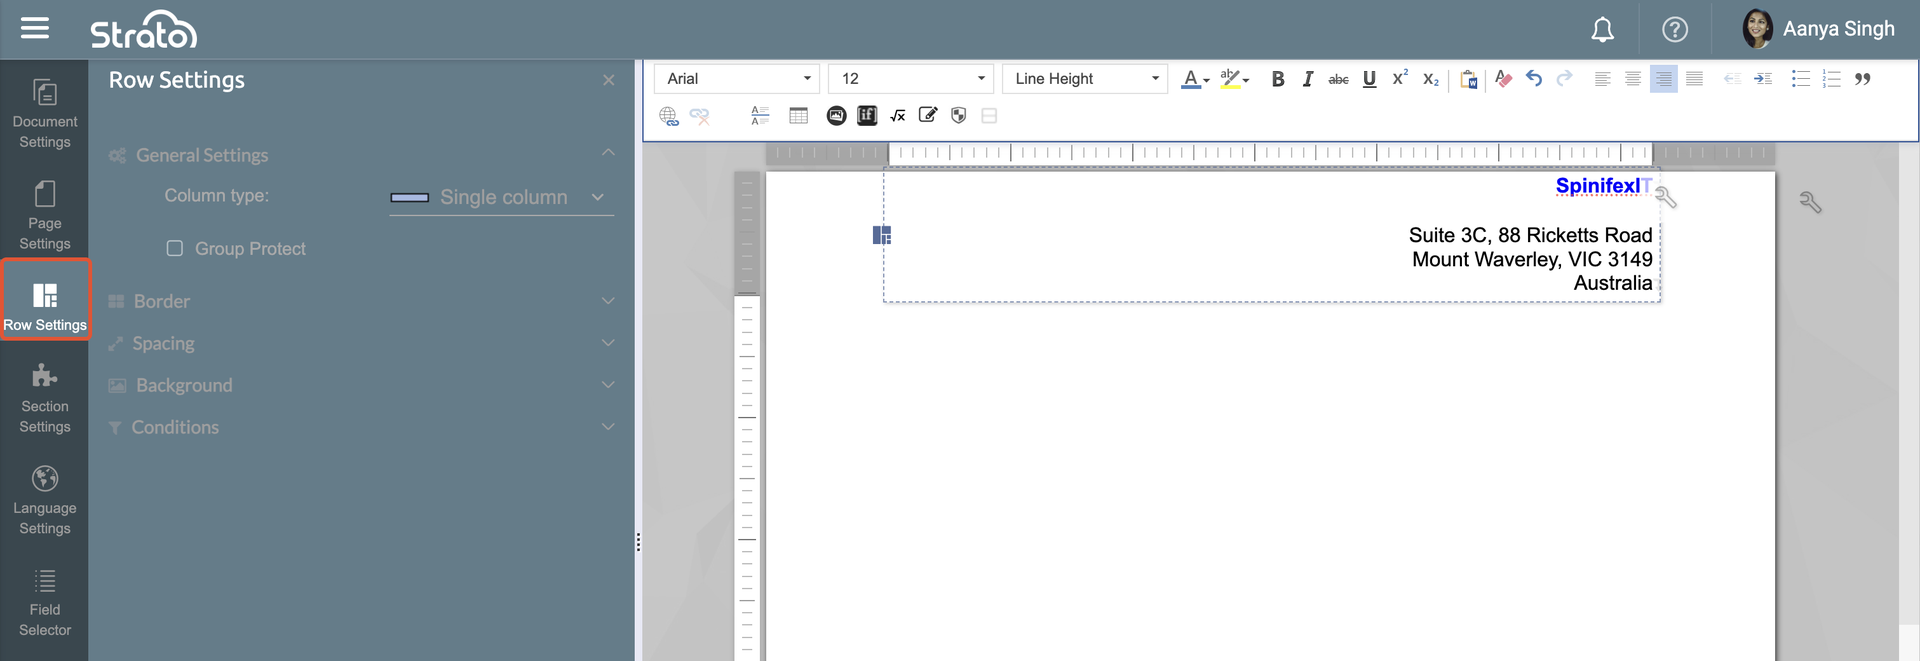
From the Column Type, select Two Columns. You can also choose the other column options for headers, content, or footers that require more than two columns.
Alternatively, you can also click on the header section's Actions menu, and then select Add Column.
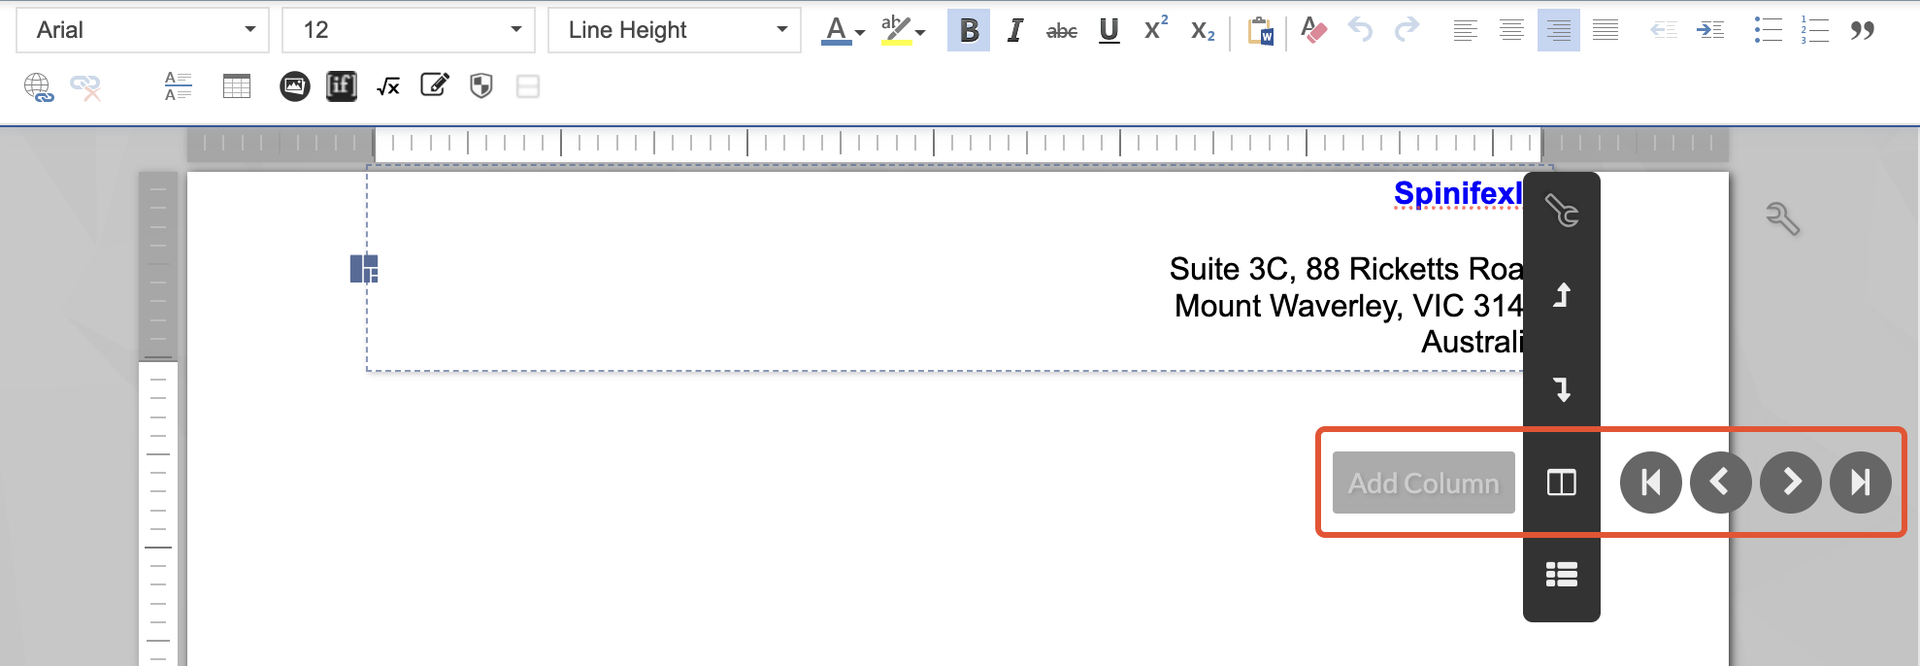
Selecting this will add another equally sized column into your header row. Each column contains a different header text section.
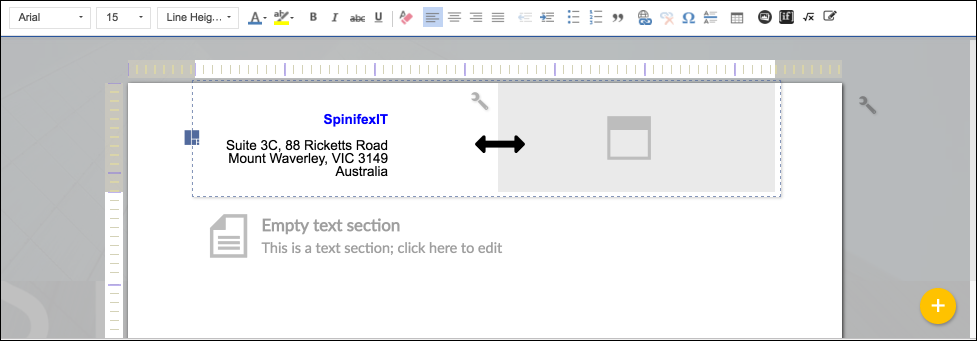
You can adjust each column's width by clicking and dragging its corner.
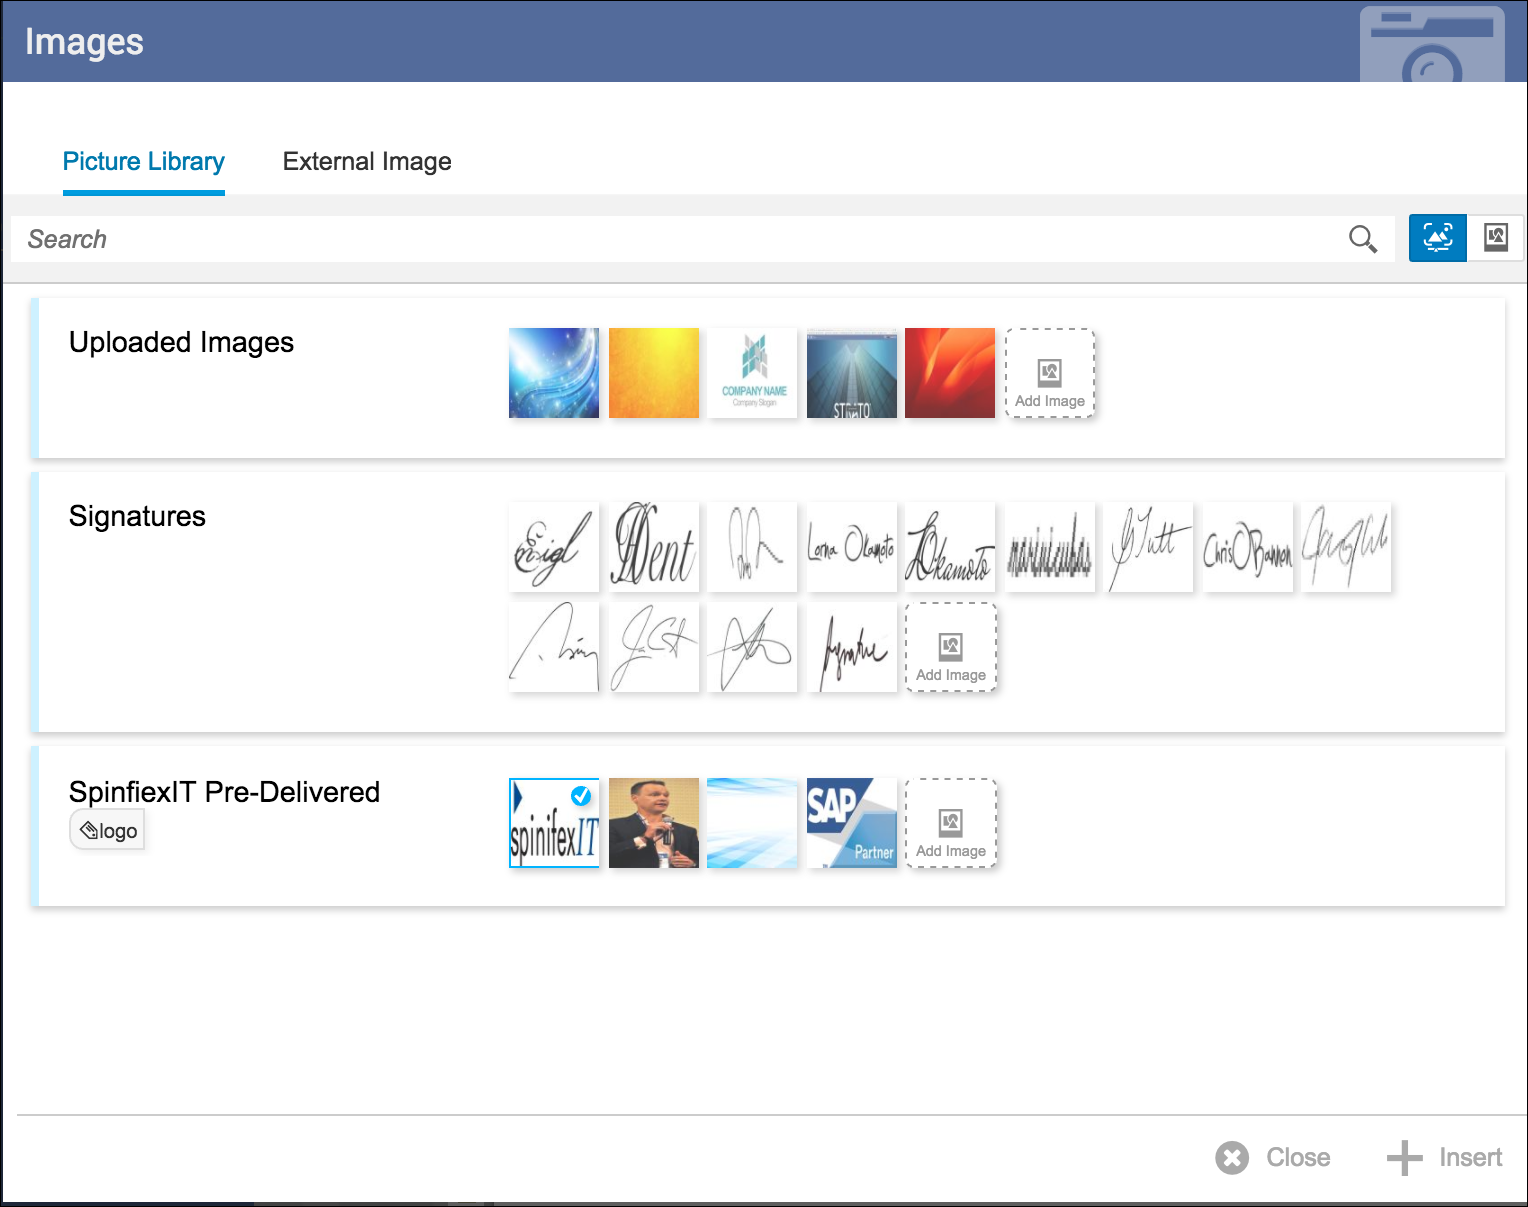
Insert an Image
Images such as company logos, icons, and related brand requirements can also be inserted into text sections.
Create a Footer
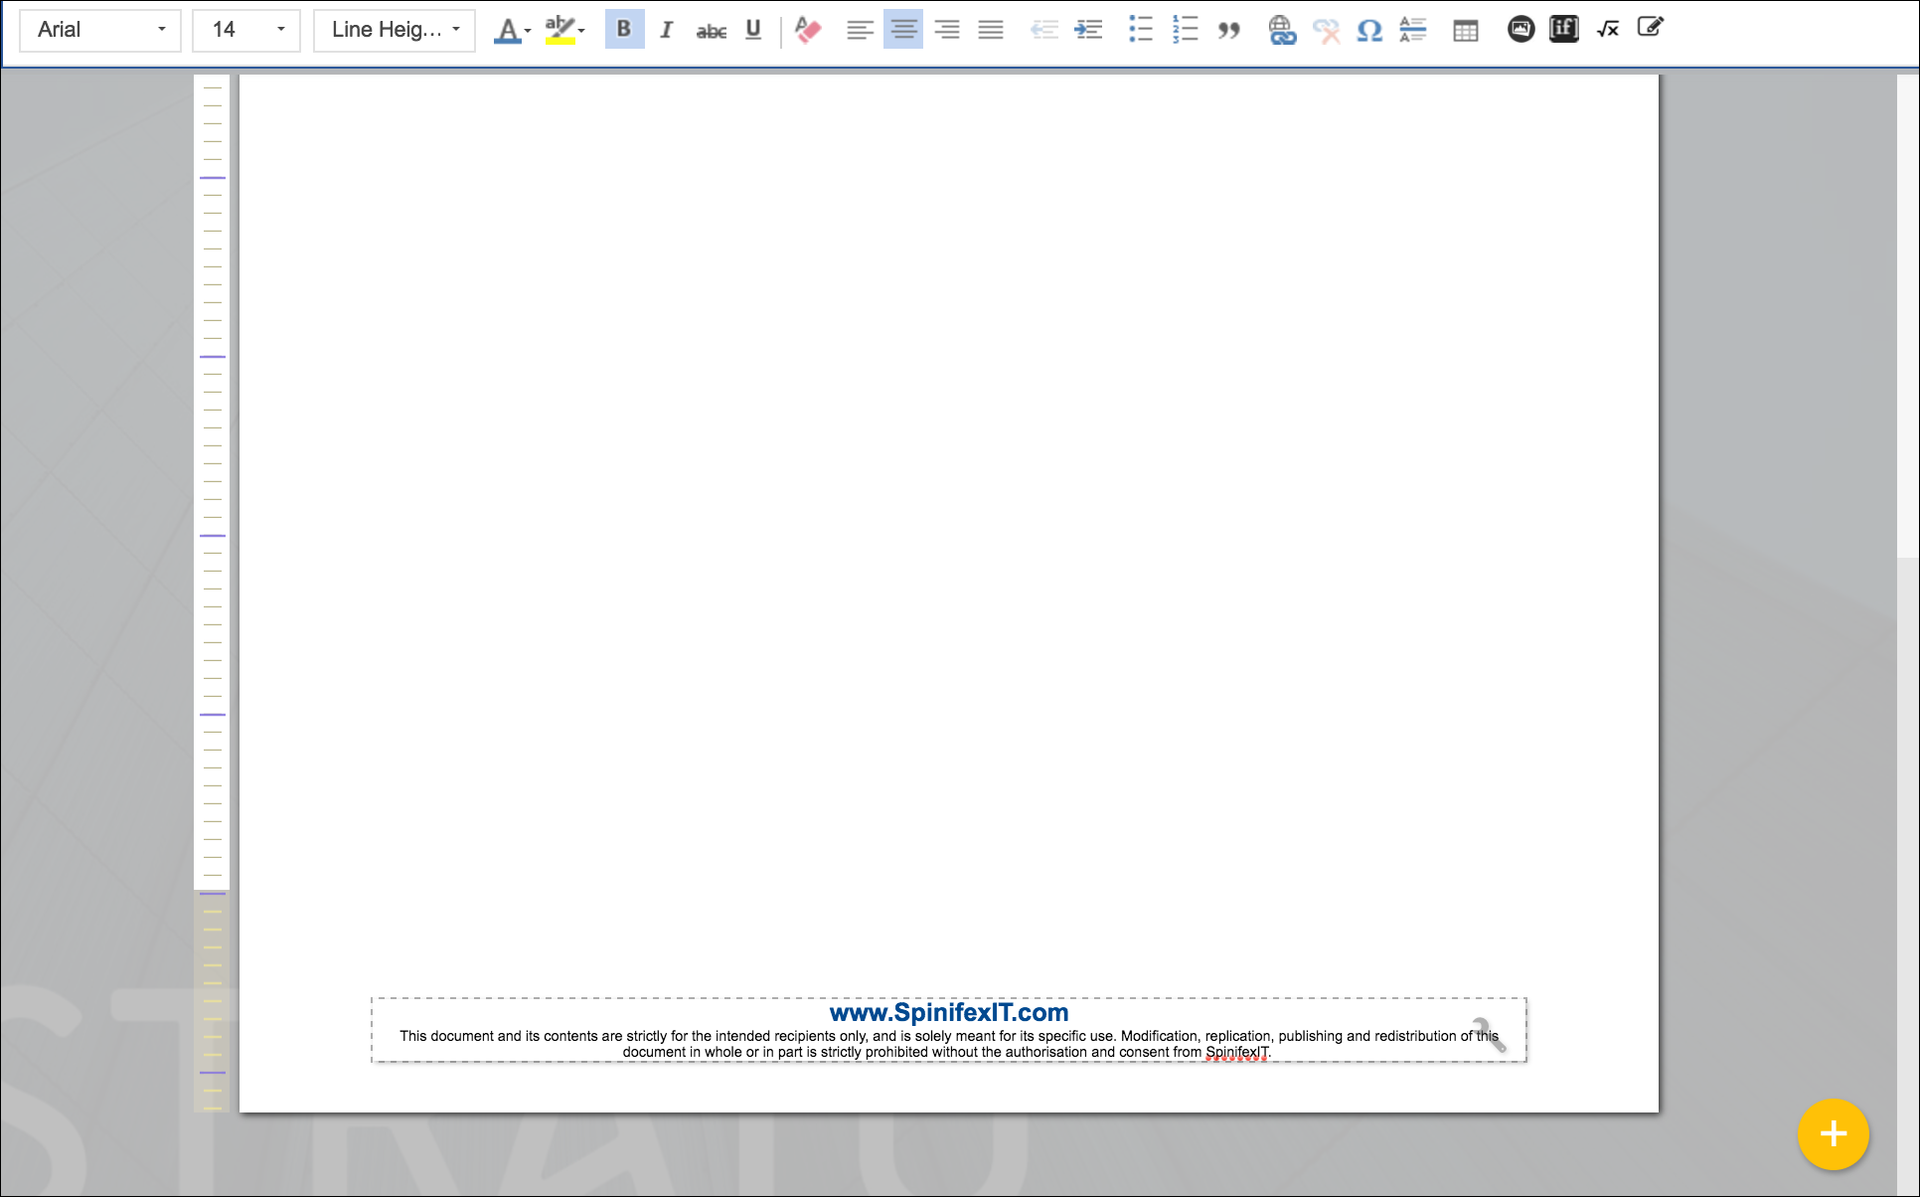
The footer is located at the bottom-most part of your document template. This is where you can put your company's alternate address line, contact details, and website.
To add a footer, select Page Actions from the top-right corner of your document, then click Add footer.
You can type in your own footer content, or select from reusable sections. Reusable sections are previously created sections that have been saved as sub-templates.
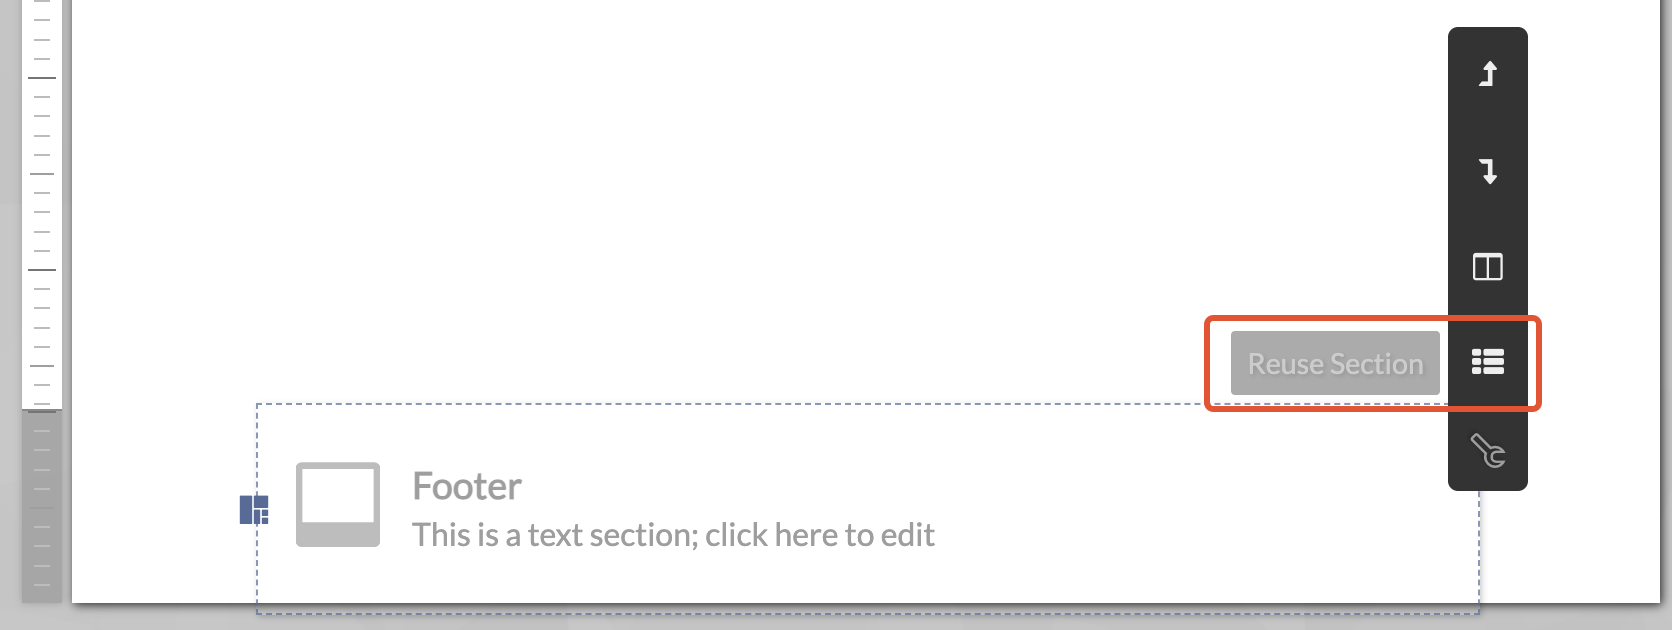
To use reusable sections, click the Actions icon on your section, and then select Reuse Section.
Your selected section will be displayed on your footer.
Save and Preview
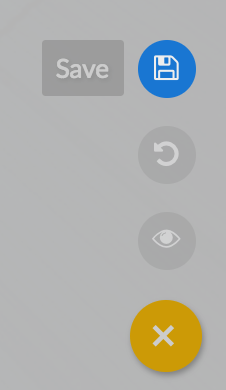
To save your document, select Actions from the bottom right side of your screen, then click save.
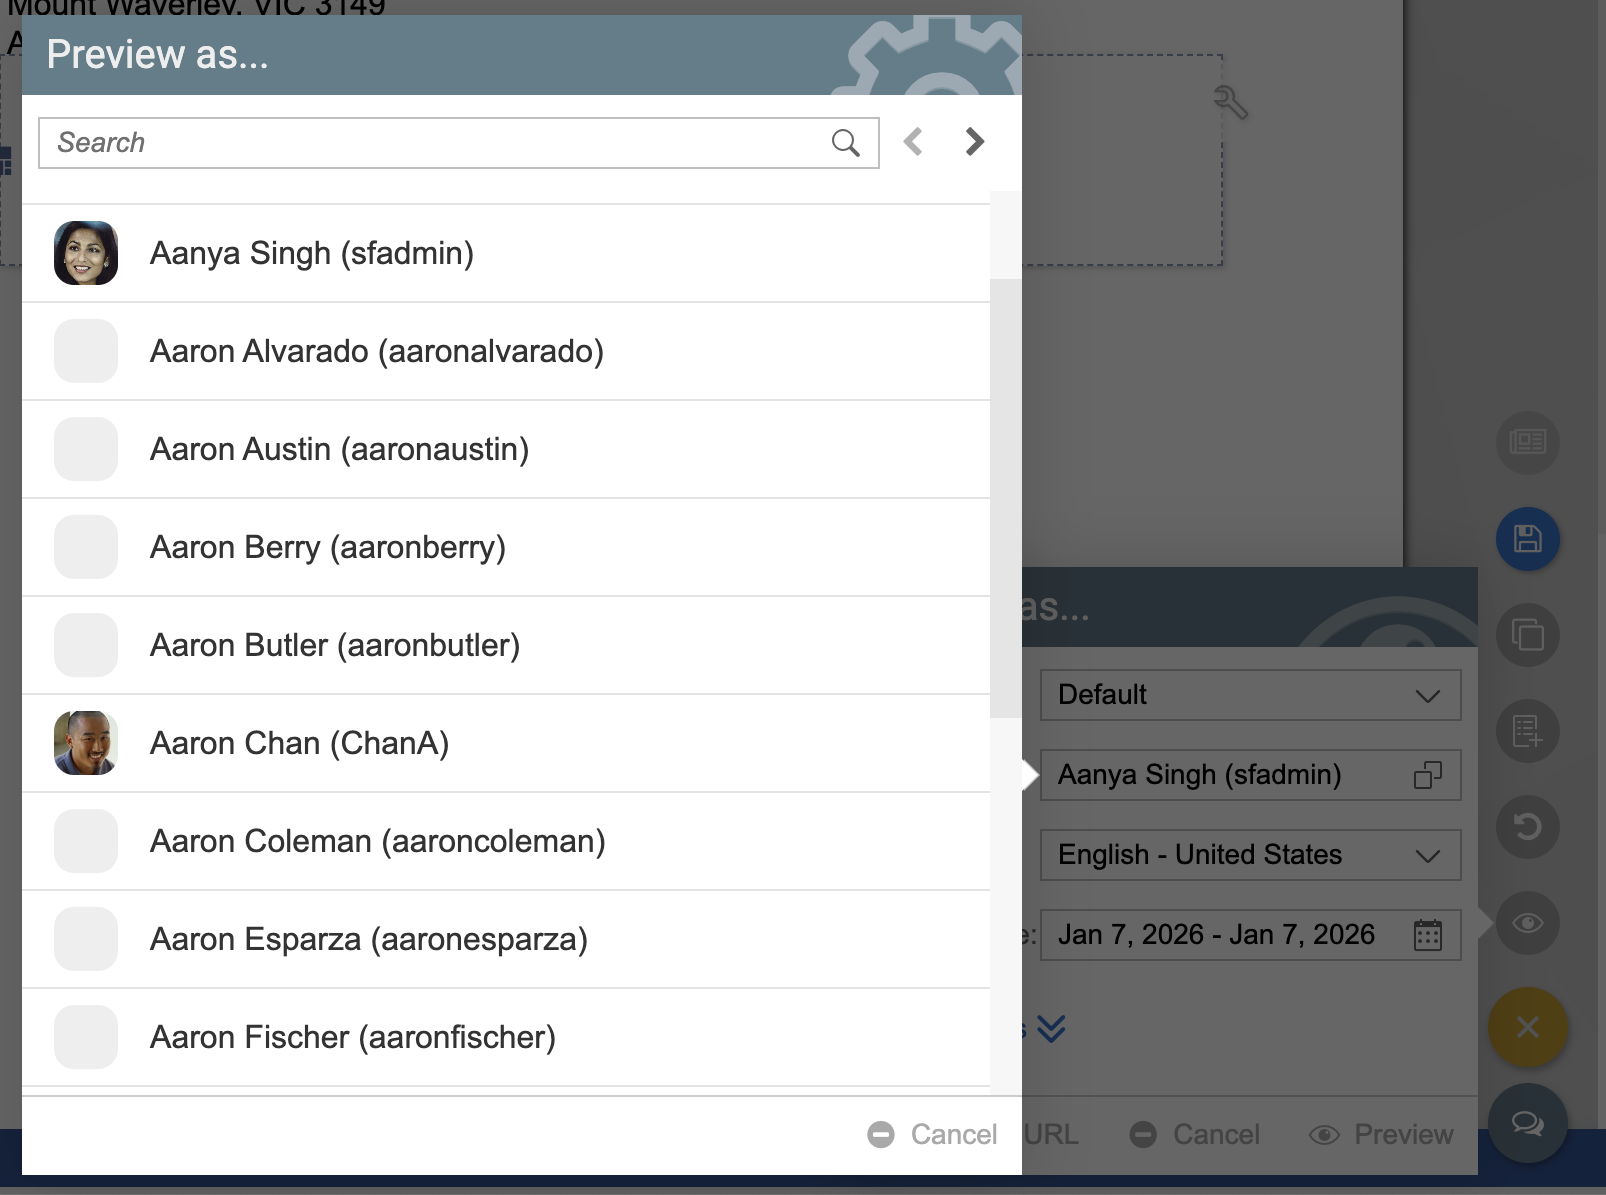
To preview your document, select Actions, then Preview. Select a user from the menu to preview the document as.
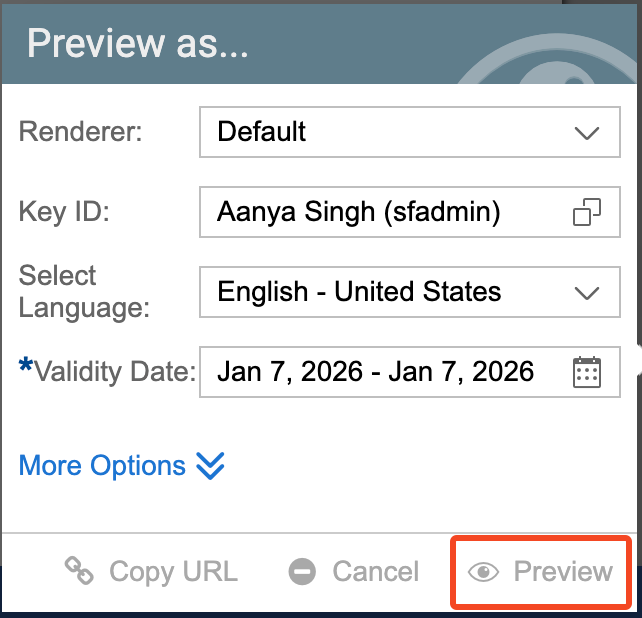
Click Preview.
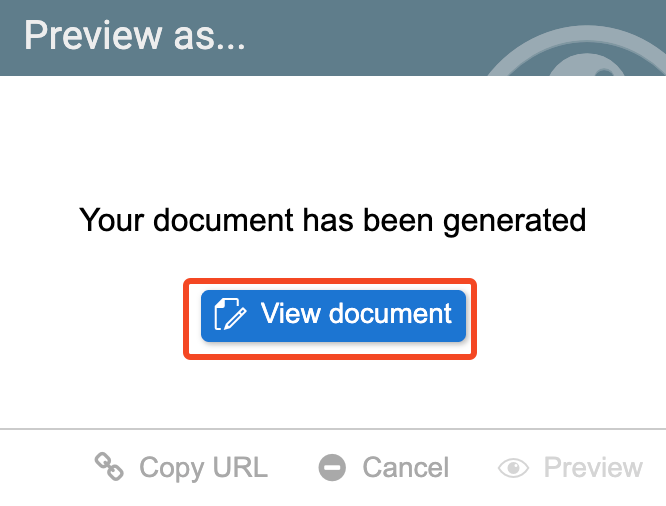
After loading, click View document to see your document's preview.

Related articles
- Format Sections
- Add and Format Images in Text Sections
- Create and Use Reusable Sections (Sub-Templates)