Manage Files in Storage Deck
In the Storage Deck, you can store, delete, or edit details of one or more files through specific actions.
This article contains the following sections:
Requirements
Make sure that New Feature - Storage Deck is installed in the Upgrade Center.
Basic knowledge of how to navigate Storage Deck is required.
Your permissions and Policies determine whether certain actions are allowed in the Storage Deck. Contact your Strato administrator if you need assistance with these permissions.
Single Actions
There are three ways to do an action to a single file: through the More button, through the action buttons in the File Information side panel, or through in-line editing.
Through the More Button
Three actions are available from the More button:
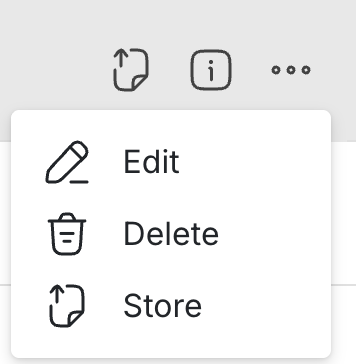
Edit
Click Edit to open the Edit side panel where you can modify the Name, Recipient, Folder, and Category of the selected file. Any changes made are automatically applied to the file.
When selecting a Folder, the list of selectable Folders depends on the assigned Category. Strato will only show Folders who have the assigned Category listed in their Allowed or Default Category fields. The reverse also applies when selecting a Category from the assigned Folder.

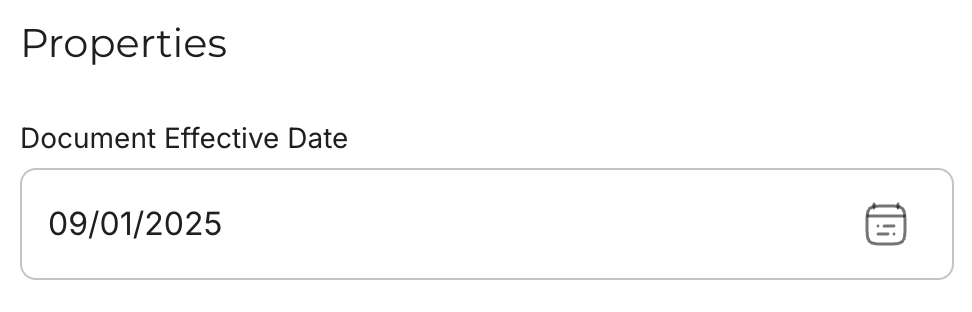
When the selected Category has File Properties associated with it, these Properties can also be modified in the Edit side panel.
Store and Delete
Click Store to move the file from the Storage Deck to the selected folder in Storage.
Click Delete to permanently remove the file from the Storage Deck.
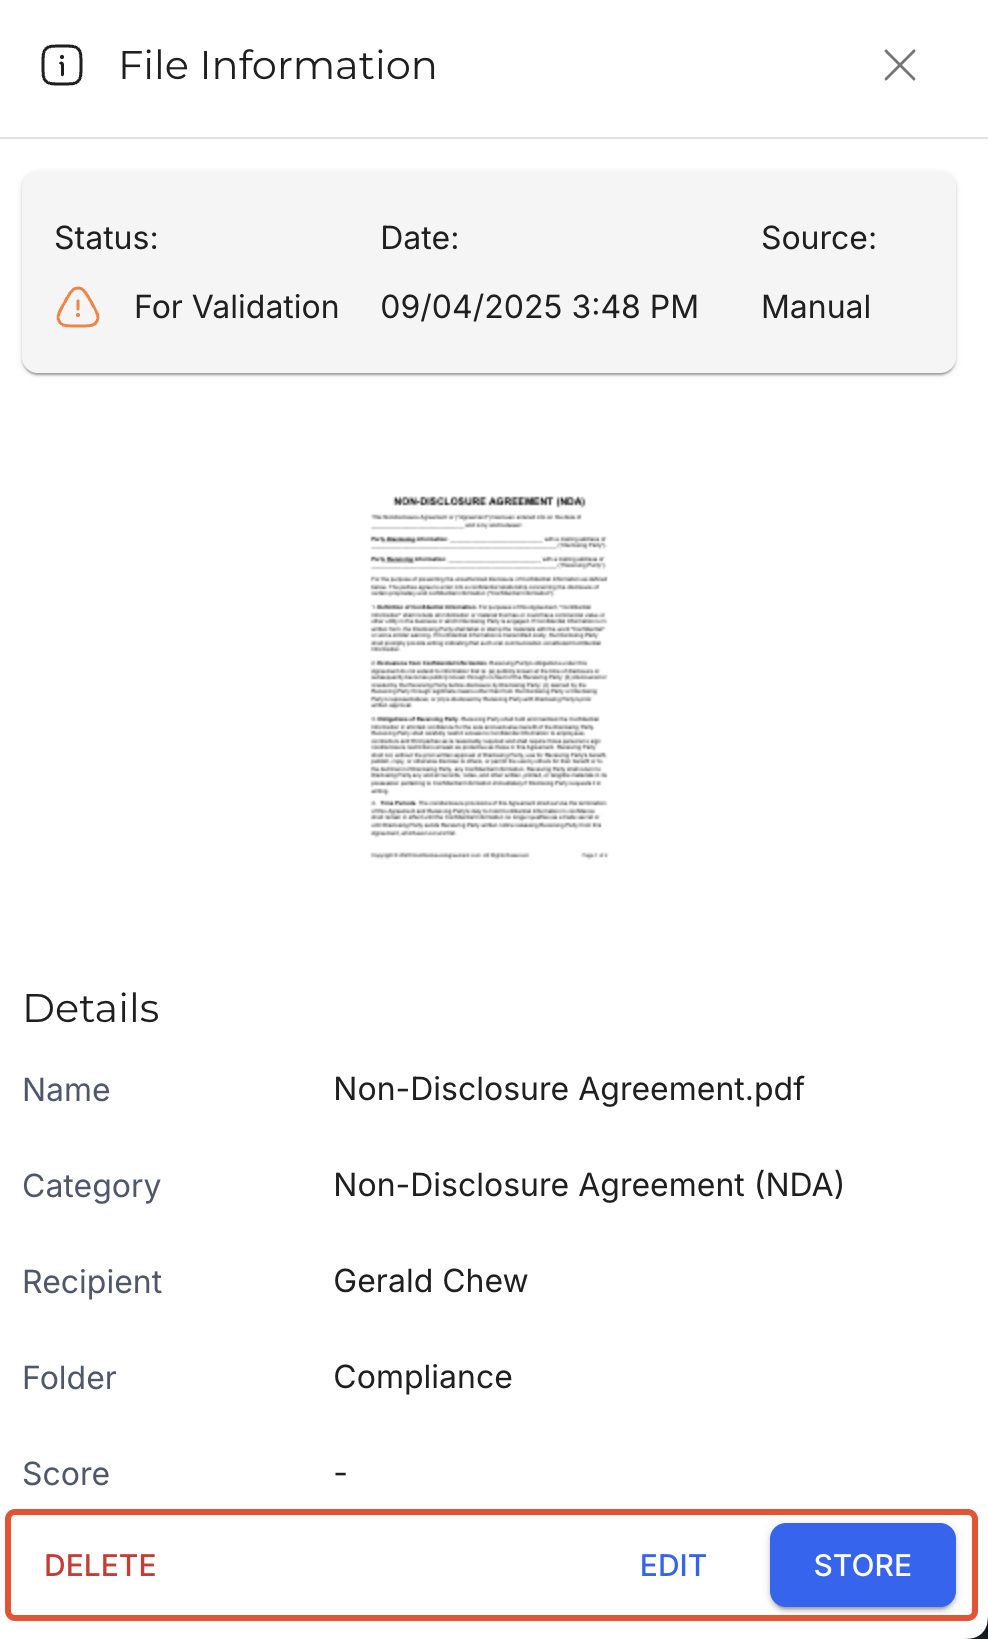
Through the Action Buttons in File Information
At the bottom of the File Information side panel, there are three buttons: Delete, Edit, and Store. These act similarly to the actions taken through the More button.
Through In-Line Editing
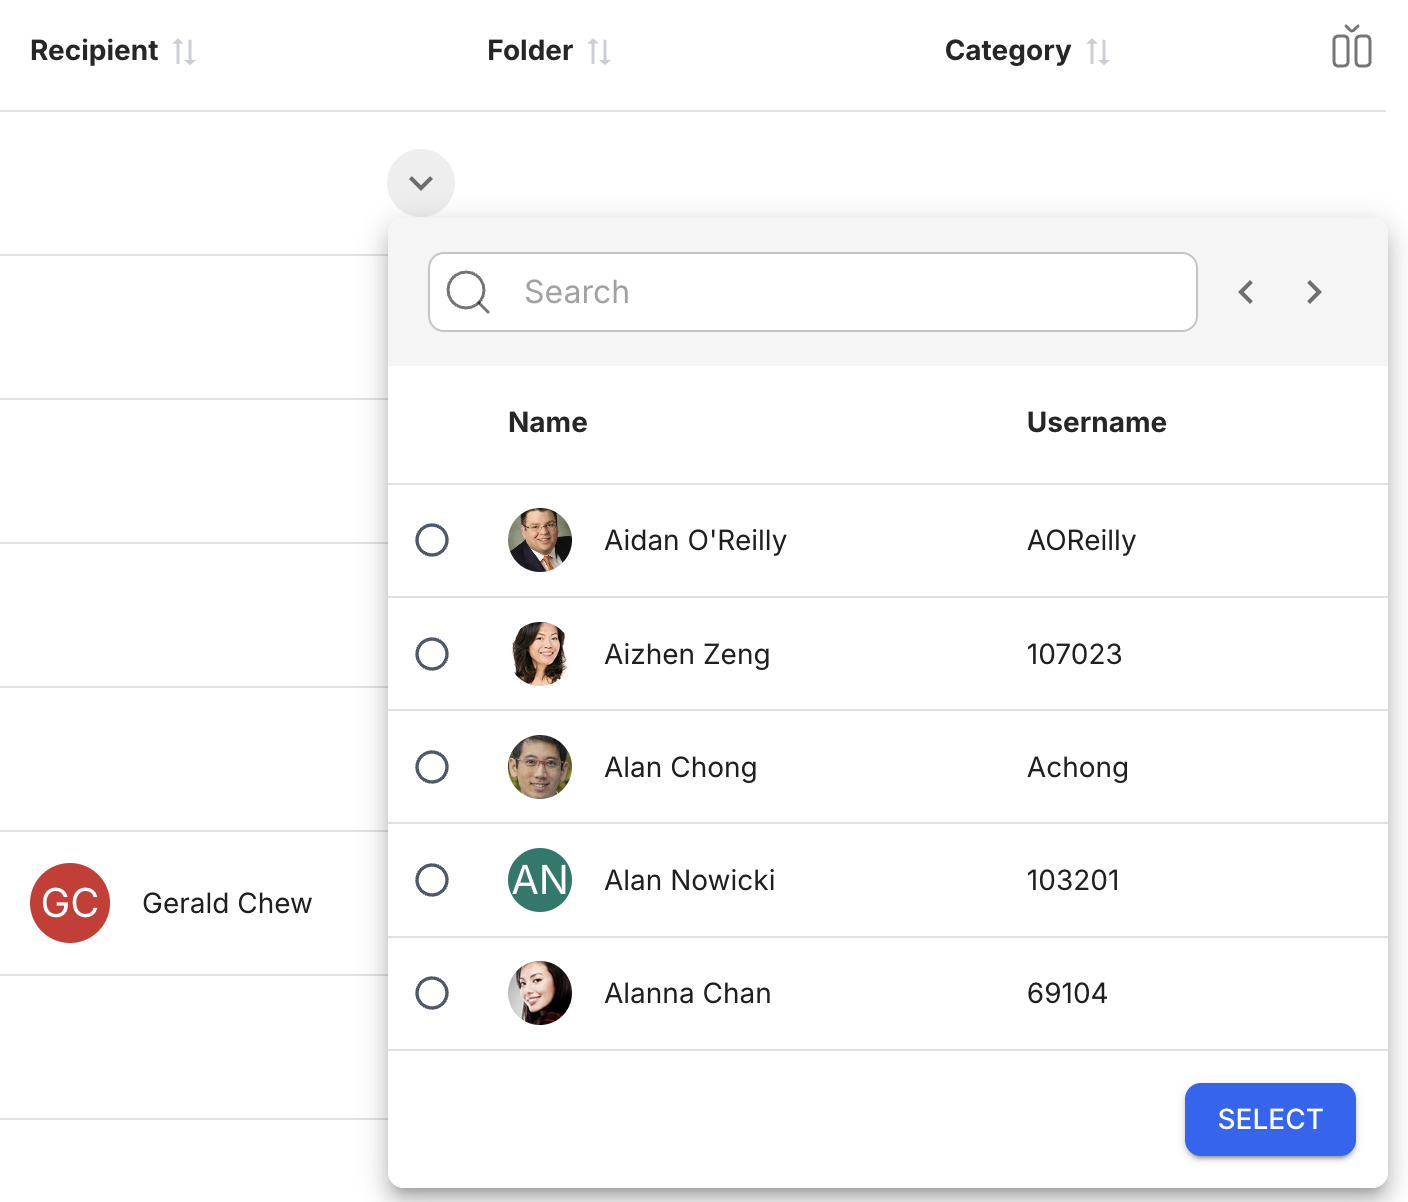
Hover over a cell in the Recipient, Folder, or Category columns of the list and click the dropdown icon to directly edit the details of a file. This opens up a window where you can set the Recipient, Folder, and Category of the selected file.
This can also be achieved through a single click or tap on the cells directly.
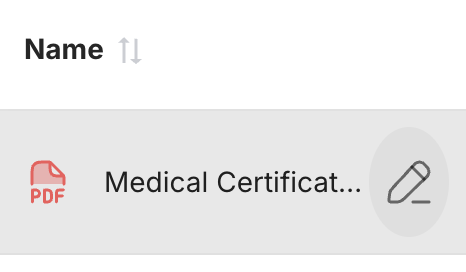
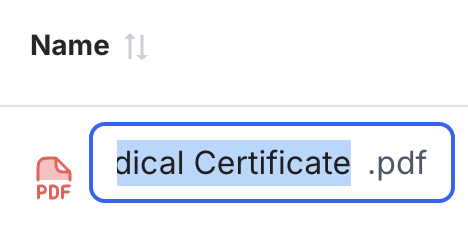
Hover over a cell in the Name column and click the Rename button to edit the file name. This can also be achieved through a double click on the cell.
Batch Actions
When selecting one or more files using the checkboxes, the following actions can be performed:

Quick File Selection
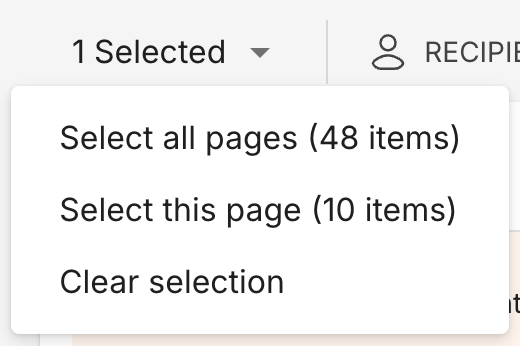
Click on the dropdown button beside the number of selected files to open the dropdown menu. You can choose between the following options:
- Select all pages (X items): Select all items across all pages.
- Select this page (X items): Select all items in the current page you are currently viewing.
- Clear selection: Unselect all items.
Recipient
Click Recipient to open a window where you can select who is the intended receiver of the selected files. You can search for a specific Recipient through the search bar.

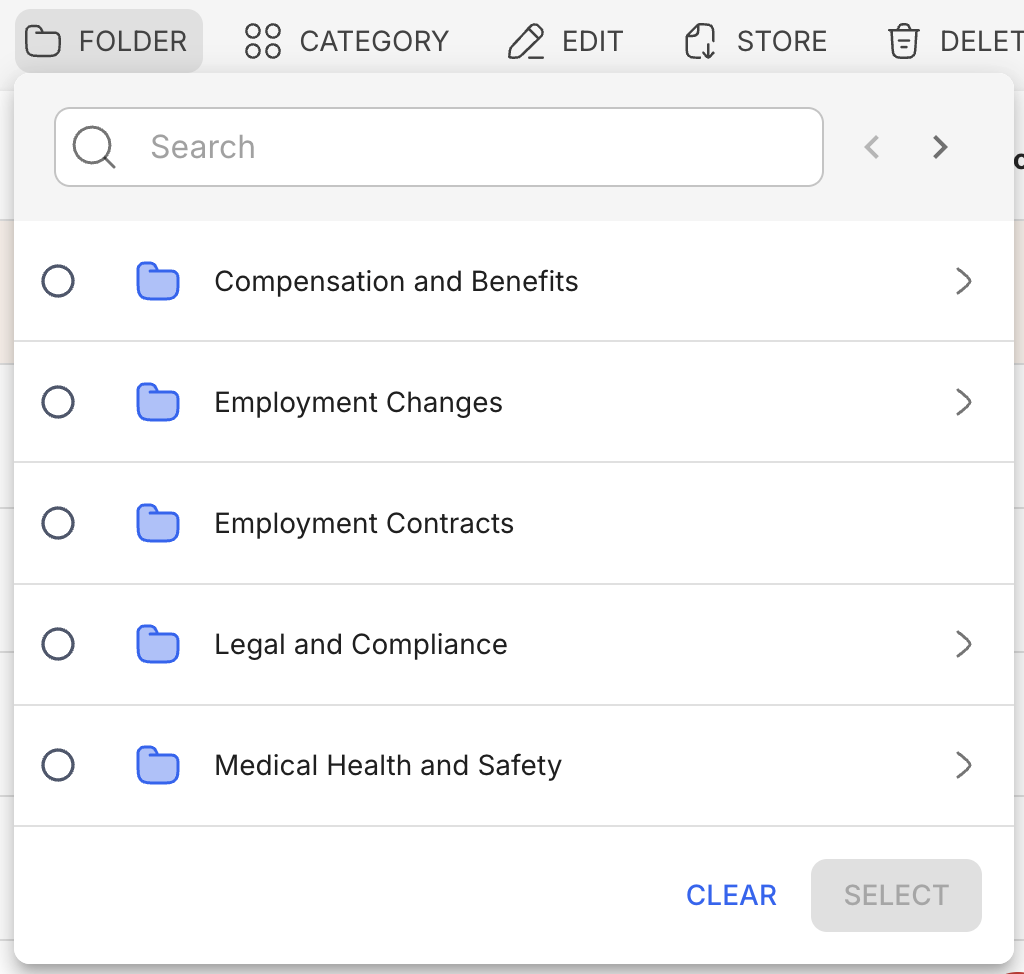
Folder
Click Folder to open a window where you can select where the files will go when storing it to Storage. You can search for a specific Folder through the search bar.
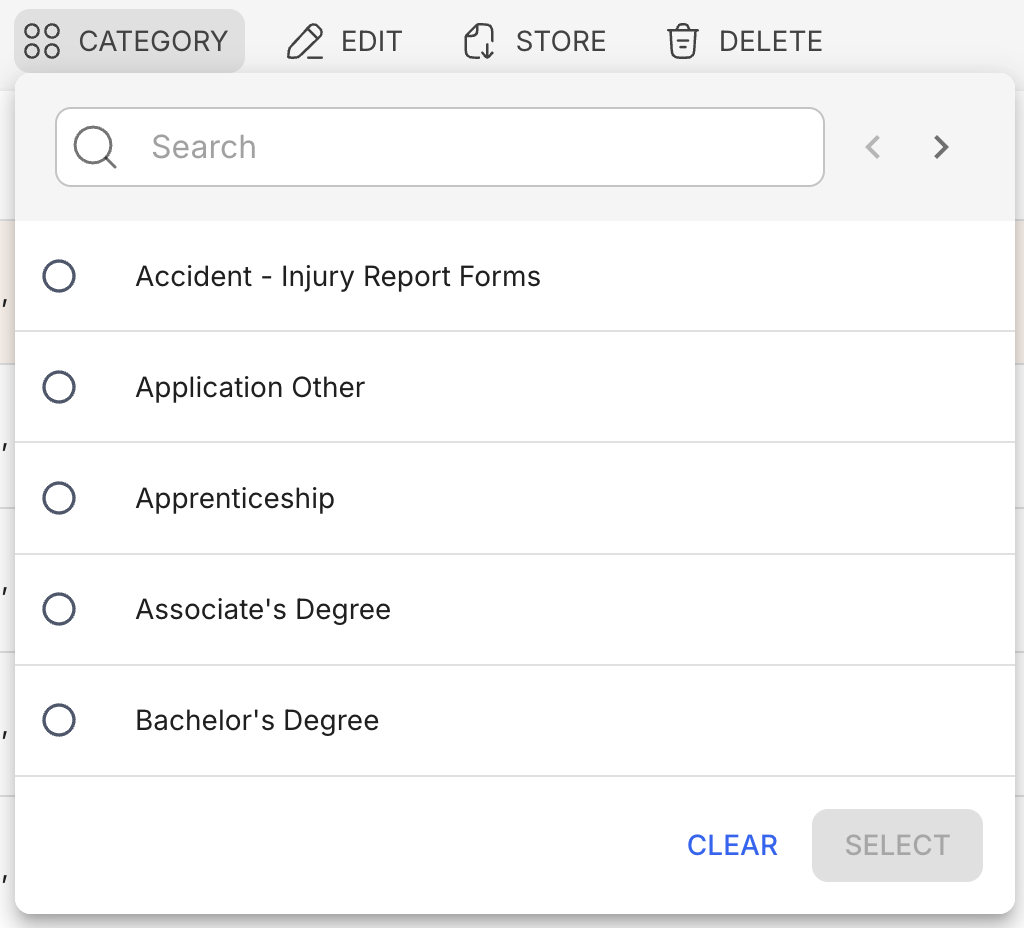
Category
Click Category to open a window where you can select under what Category the file belongs to. You can search for a specific Category through the search bar.
Edit
Click Edit to open the Edit side panel where you can choose which details to edit. Toggle the checkbox next to the details you want to change.
When changing either the Folder or the Category, a message will appear, warning you that the changes may not apply to all of the selected files. This warning message does not appear when changing both the Folder and the Category.
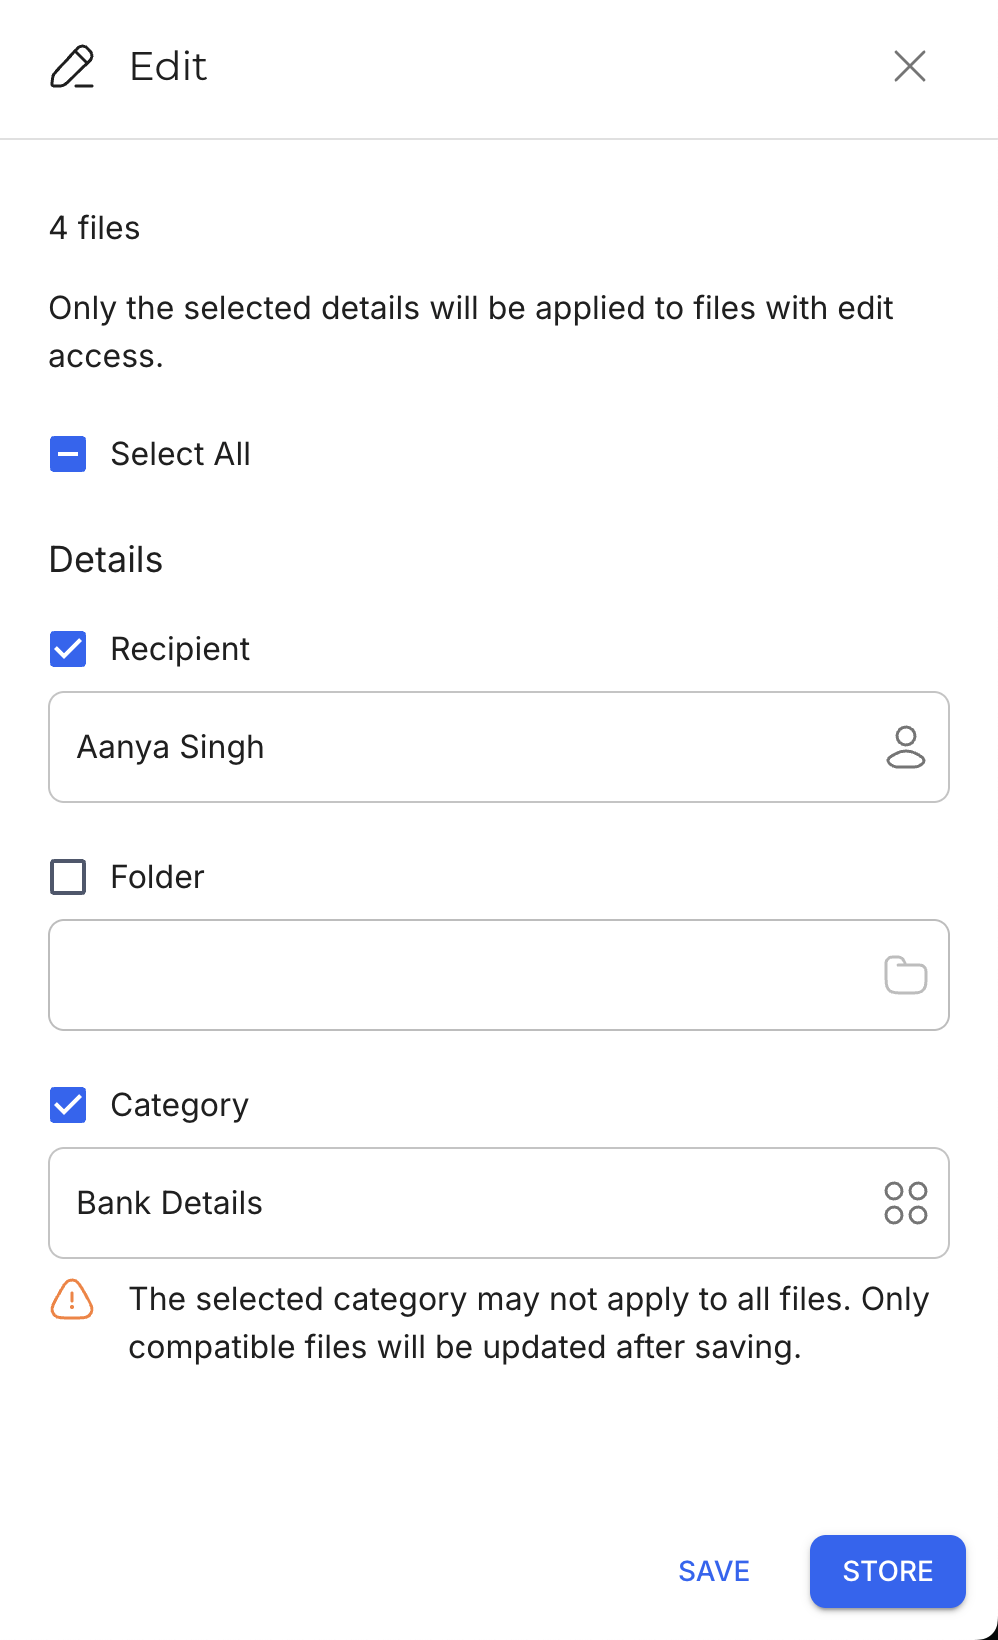
Click Save to apply the changes to the selected files.
Click Store to apply the changes and move the selected files from the Storage Deck to the selected folder in Storage.
Store and Delete
Store and Delete actions act similar to their Single Action equivalents.
Click Store to move the selected files from the Storage Deck to their designated folders in Storage, and click Delete to permanently remove the files from the Storage Deck.
Related articles
- Storage Deck
- Navigate Storage Deck
- Store Files to Storage in Storage Deck
- Upload Files to Storage Deck via API
- Upload Files to Storage Deck